Turning a Medium Sized Quilt Pattern into a Larger Quilt
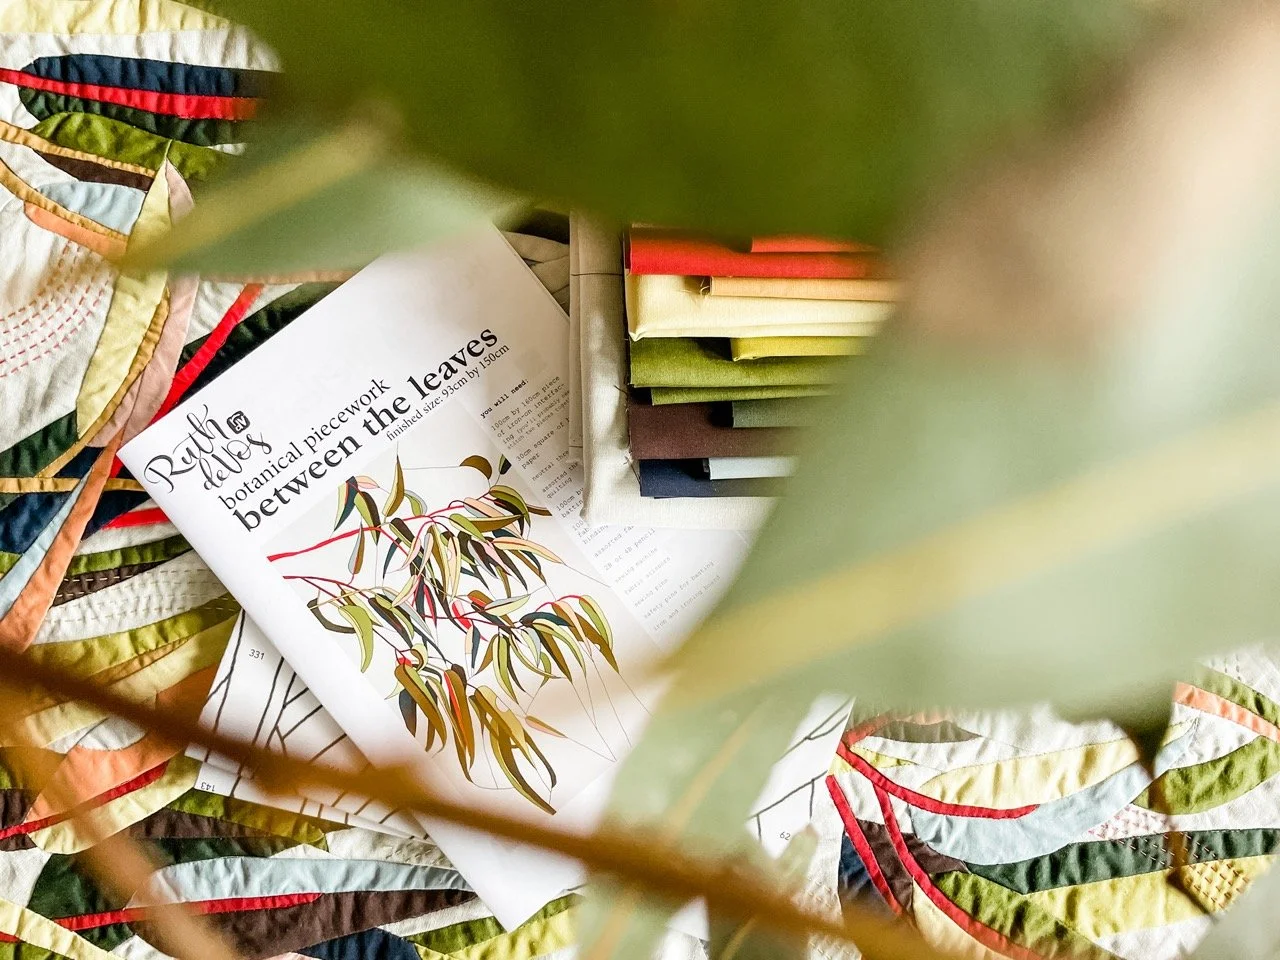
I’ve just released my latest quilt pattern ‘Between The Leaves’, and I have no doubt that some of you will be asking how to turn this into a larger quilt, such as a queen size quilt. I’ll give you my quick thoughts on that here.
The original pattern is 93cm wide by 150cm high. That’s reasonably tall and skinny. If I was creating a larger quilt based on this pattern, I would repeat sections of the original design and stitch them together.
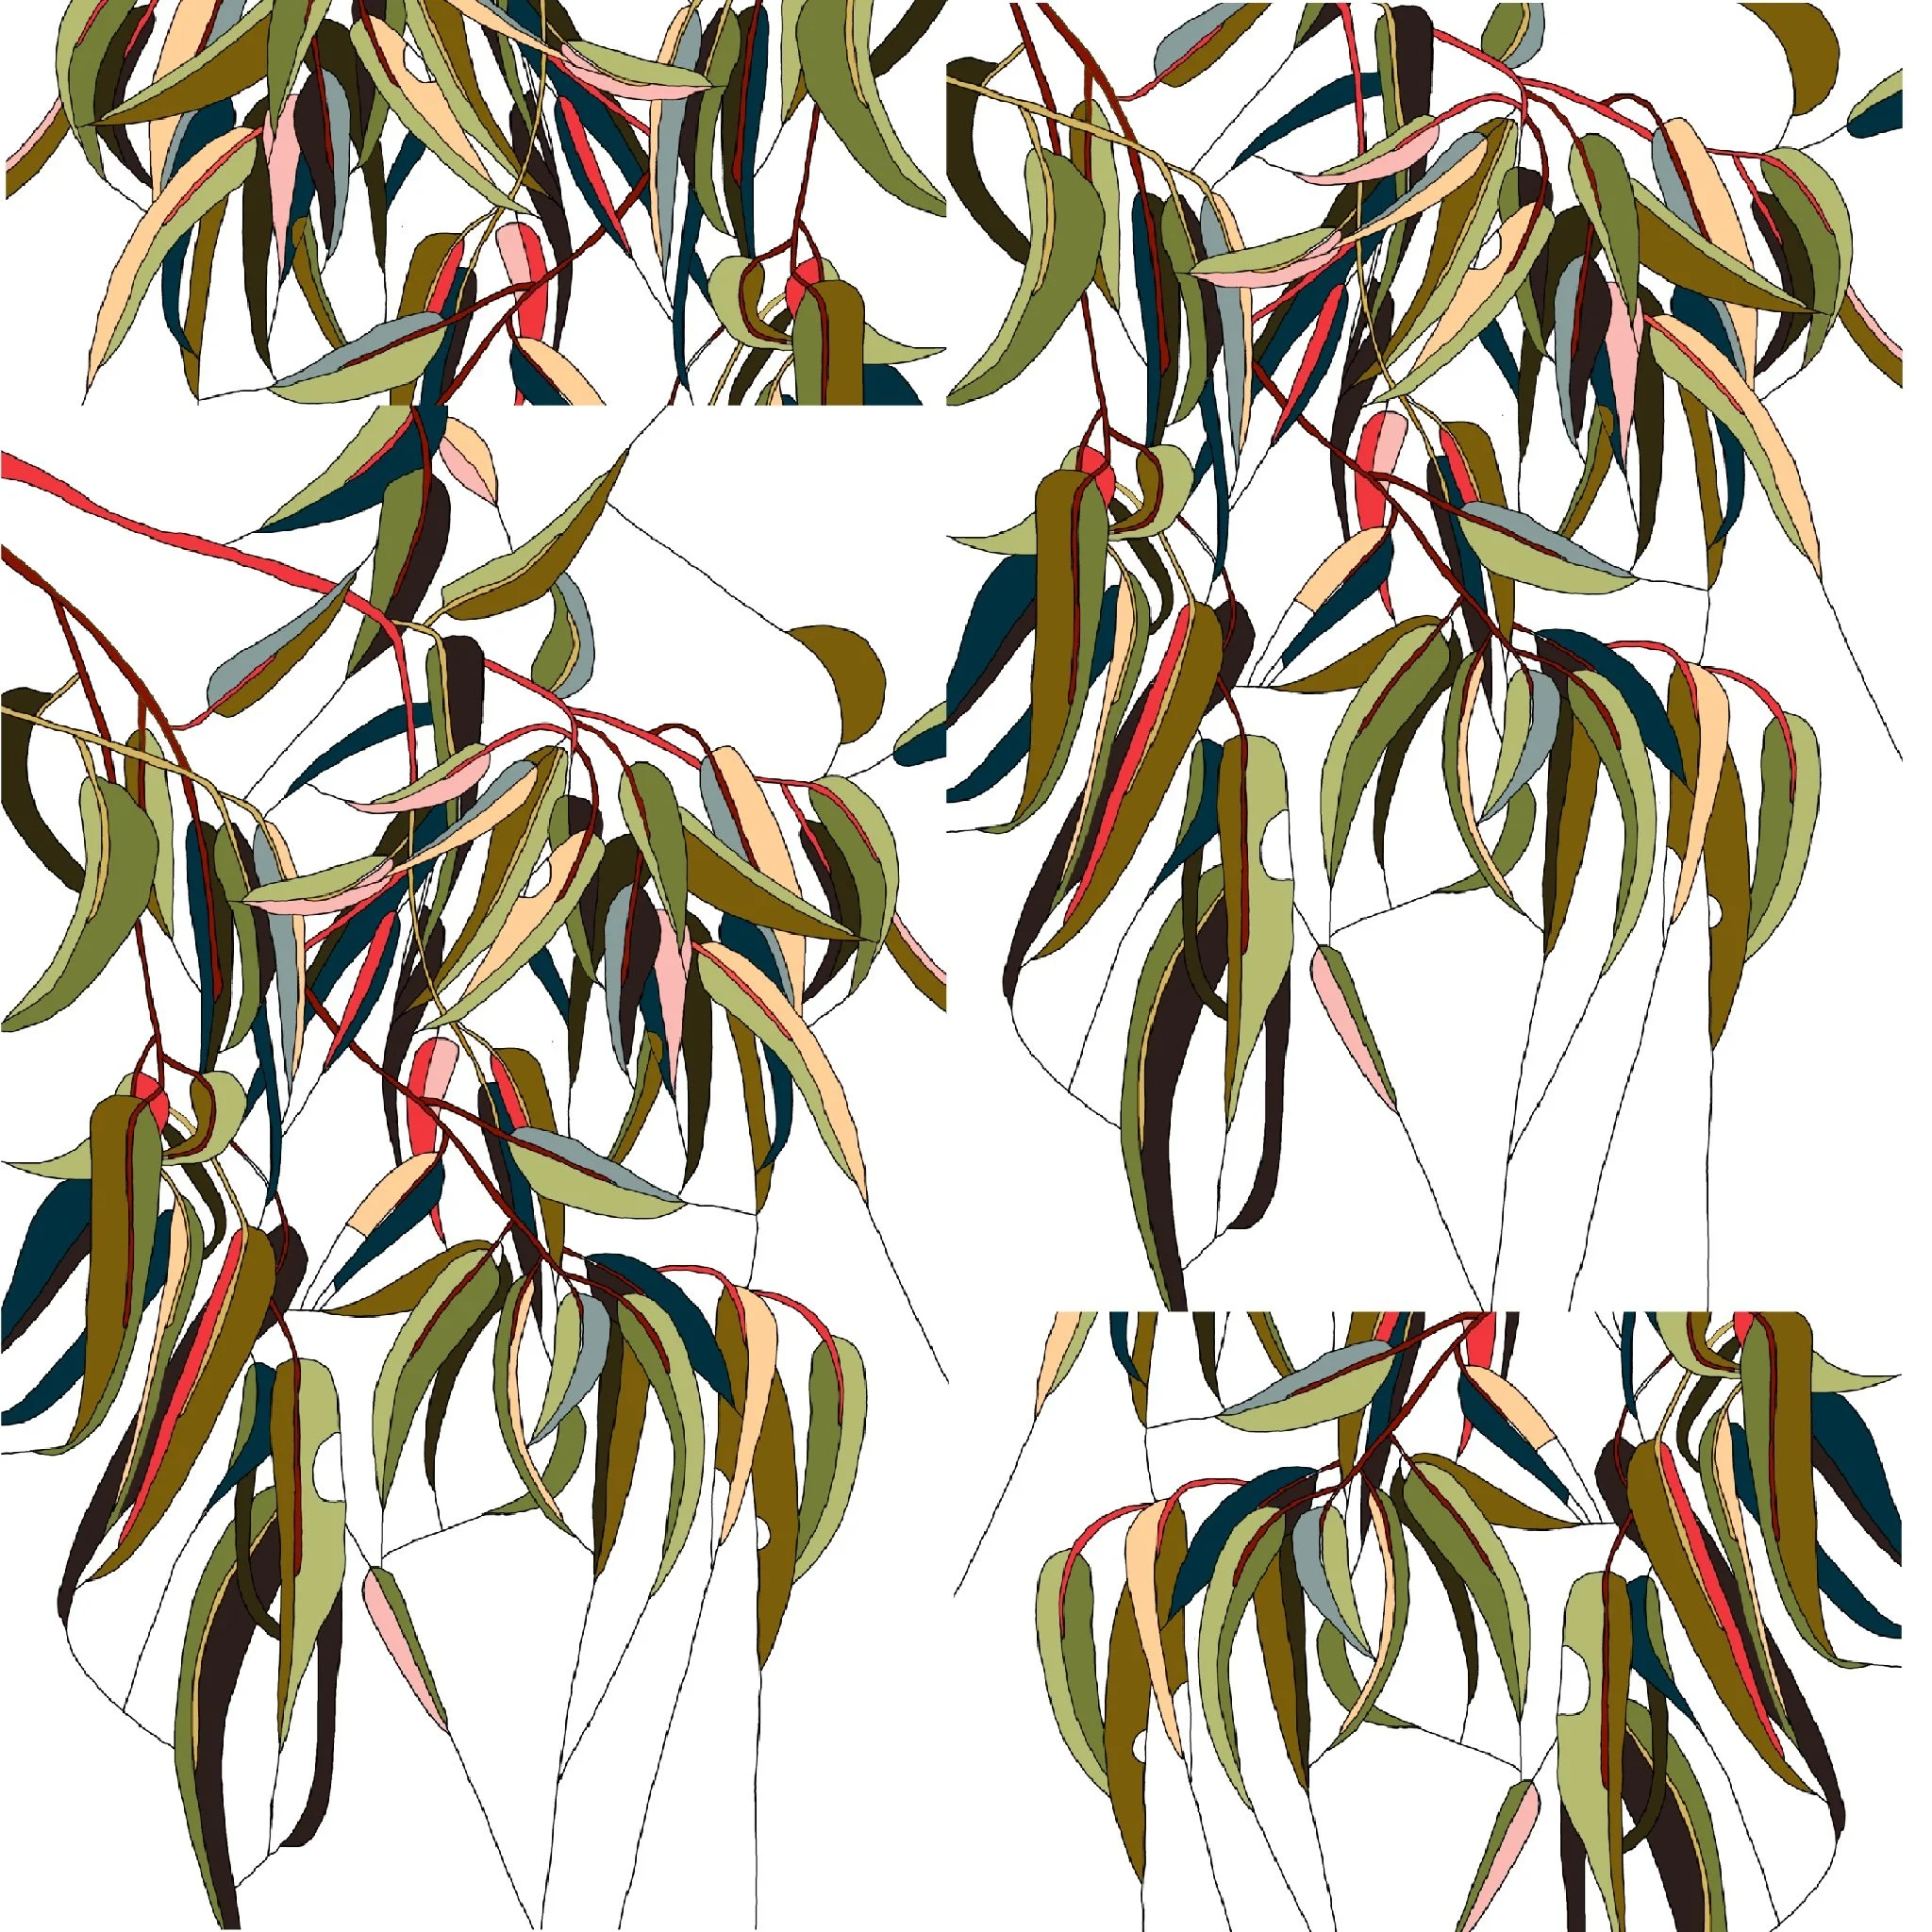
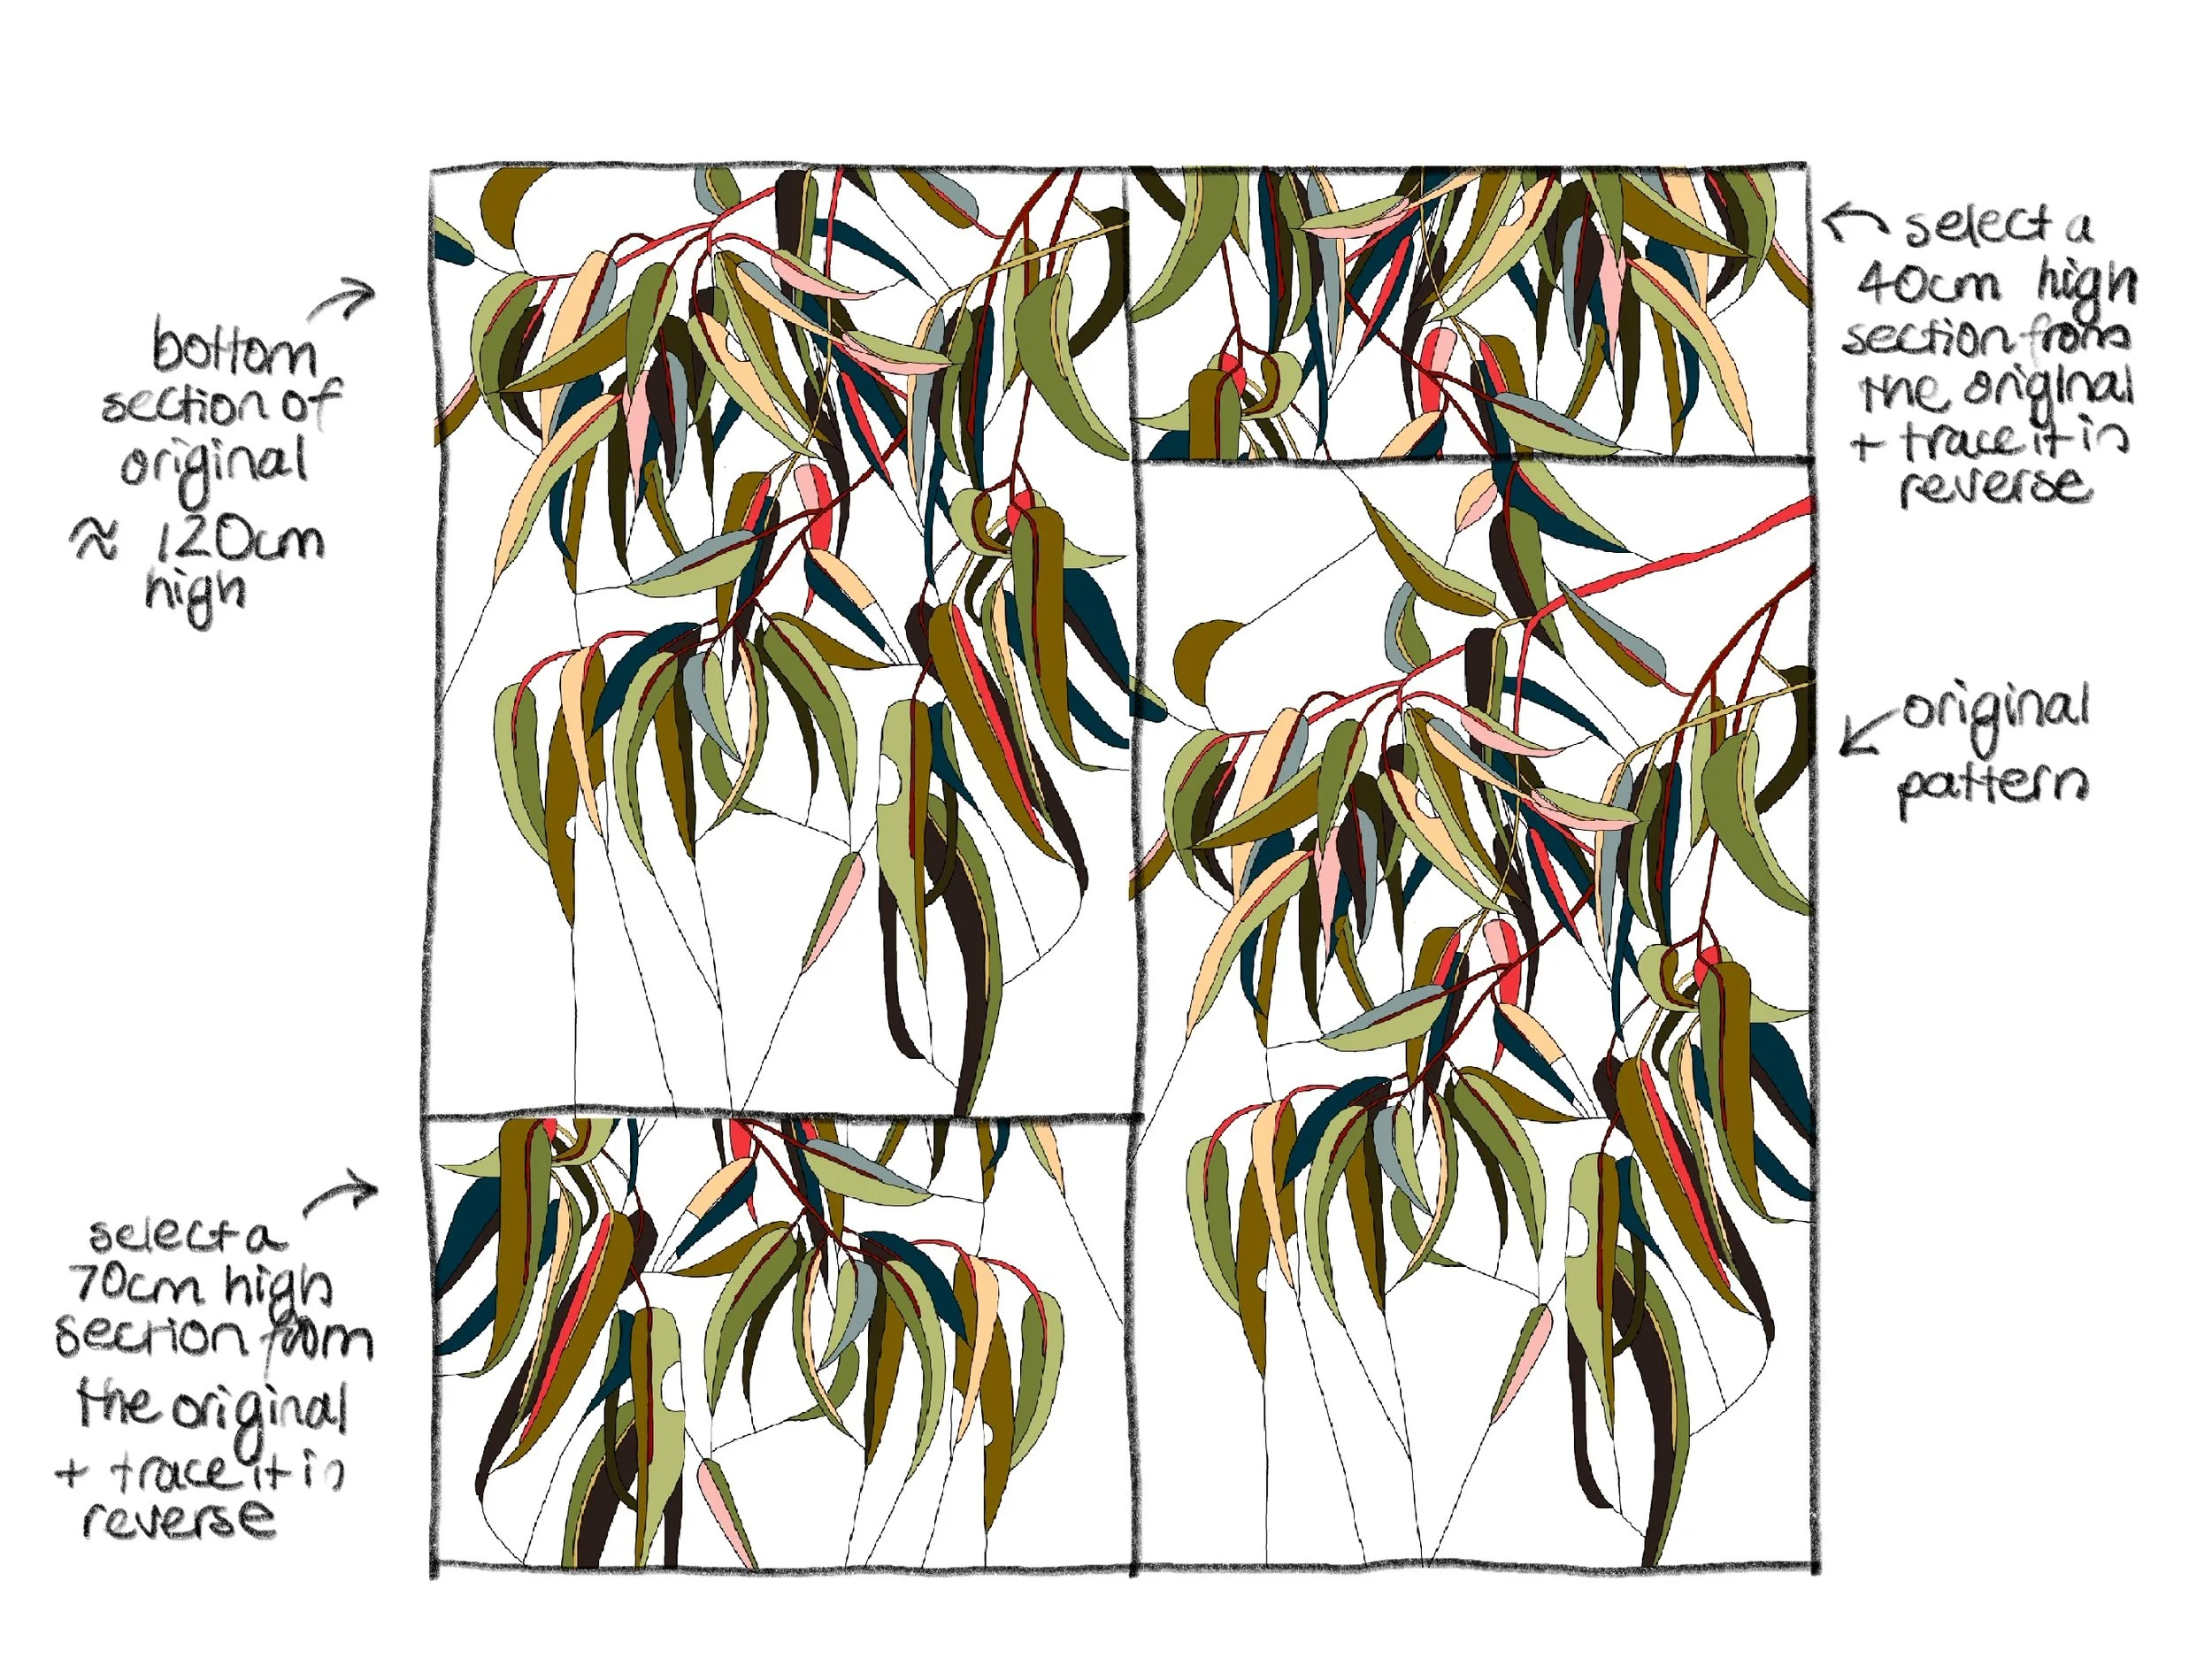
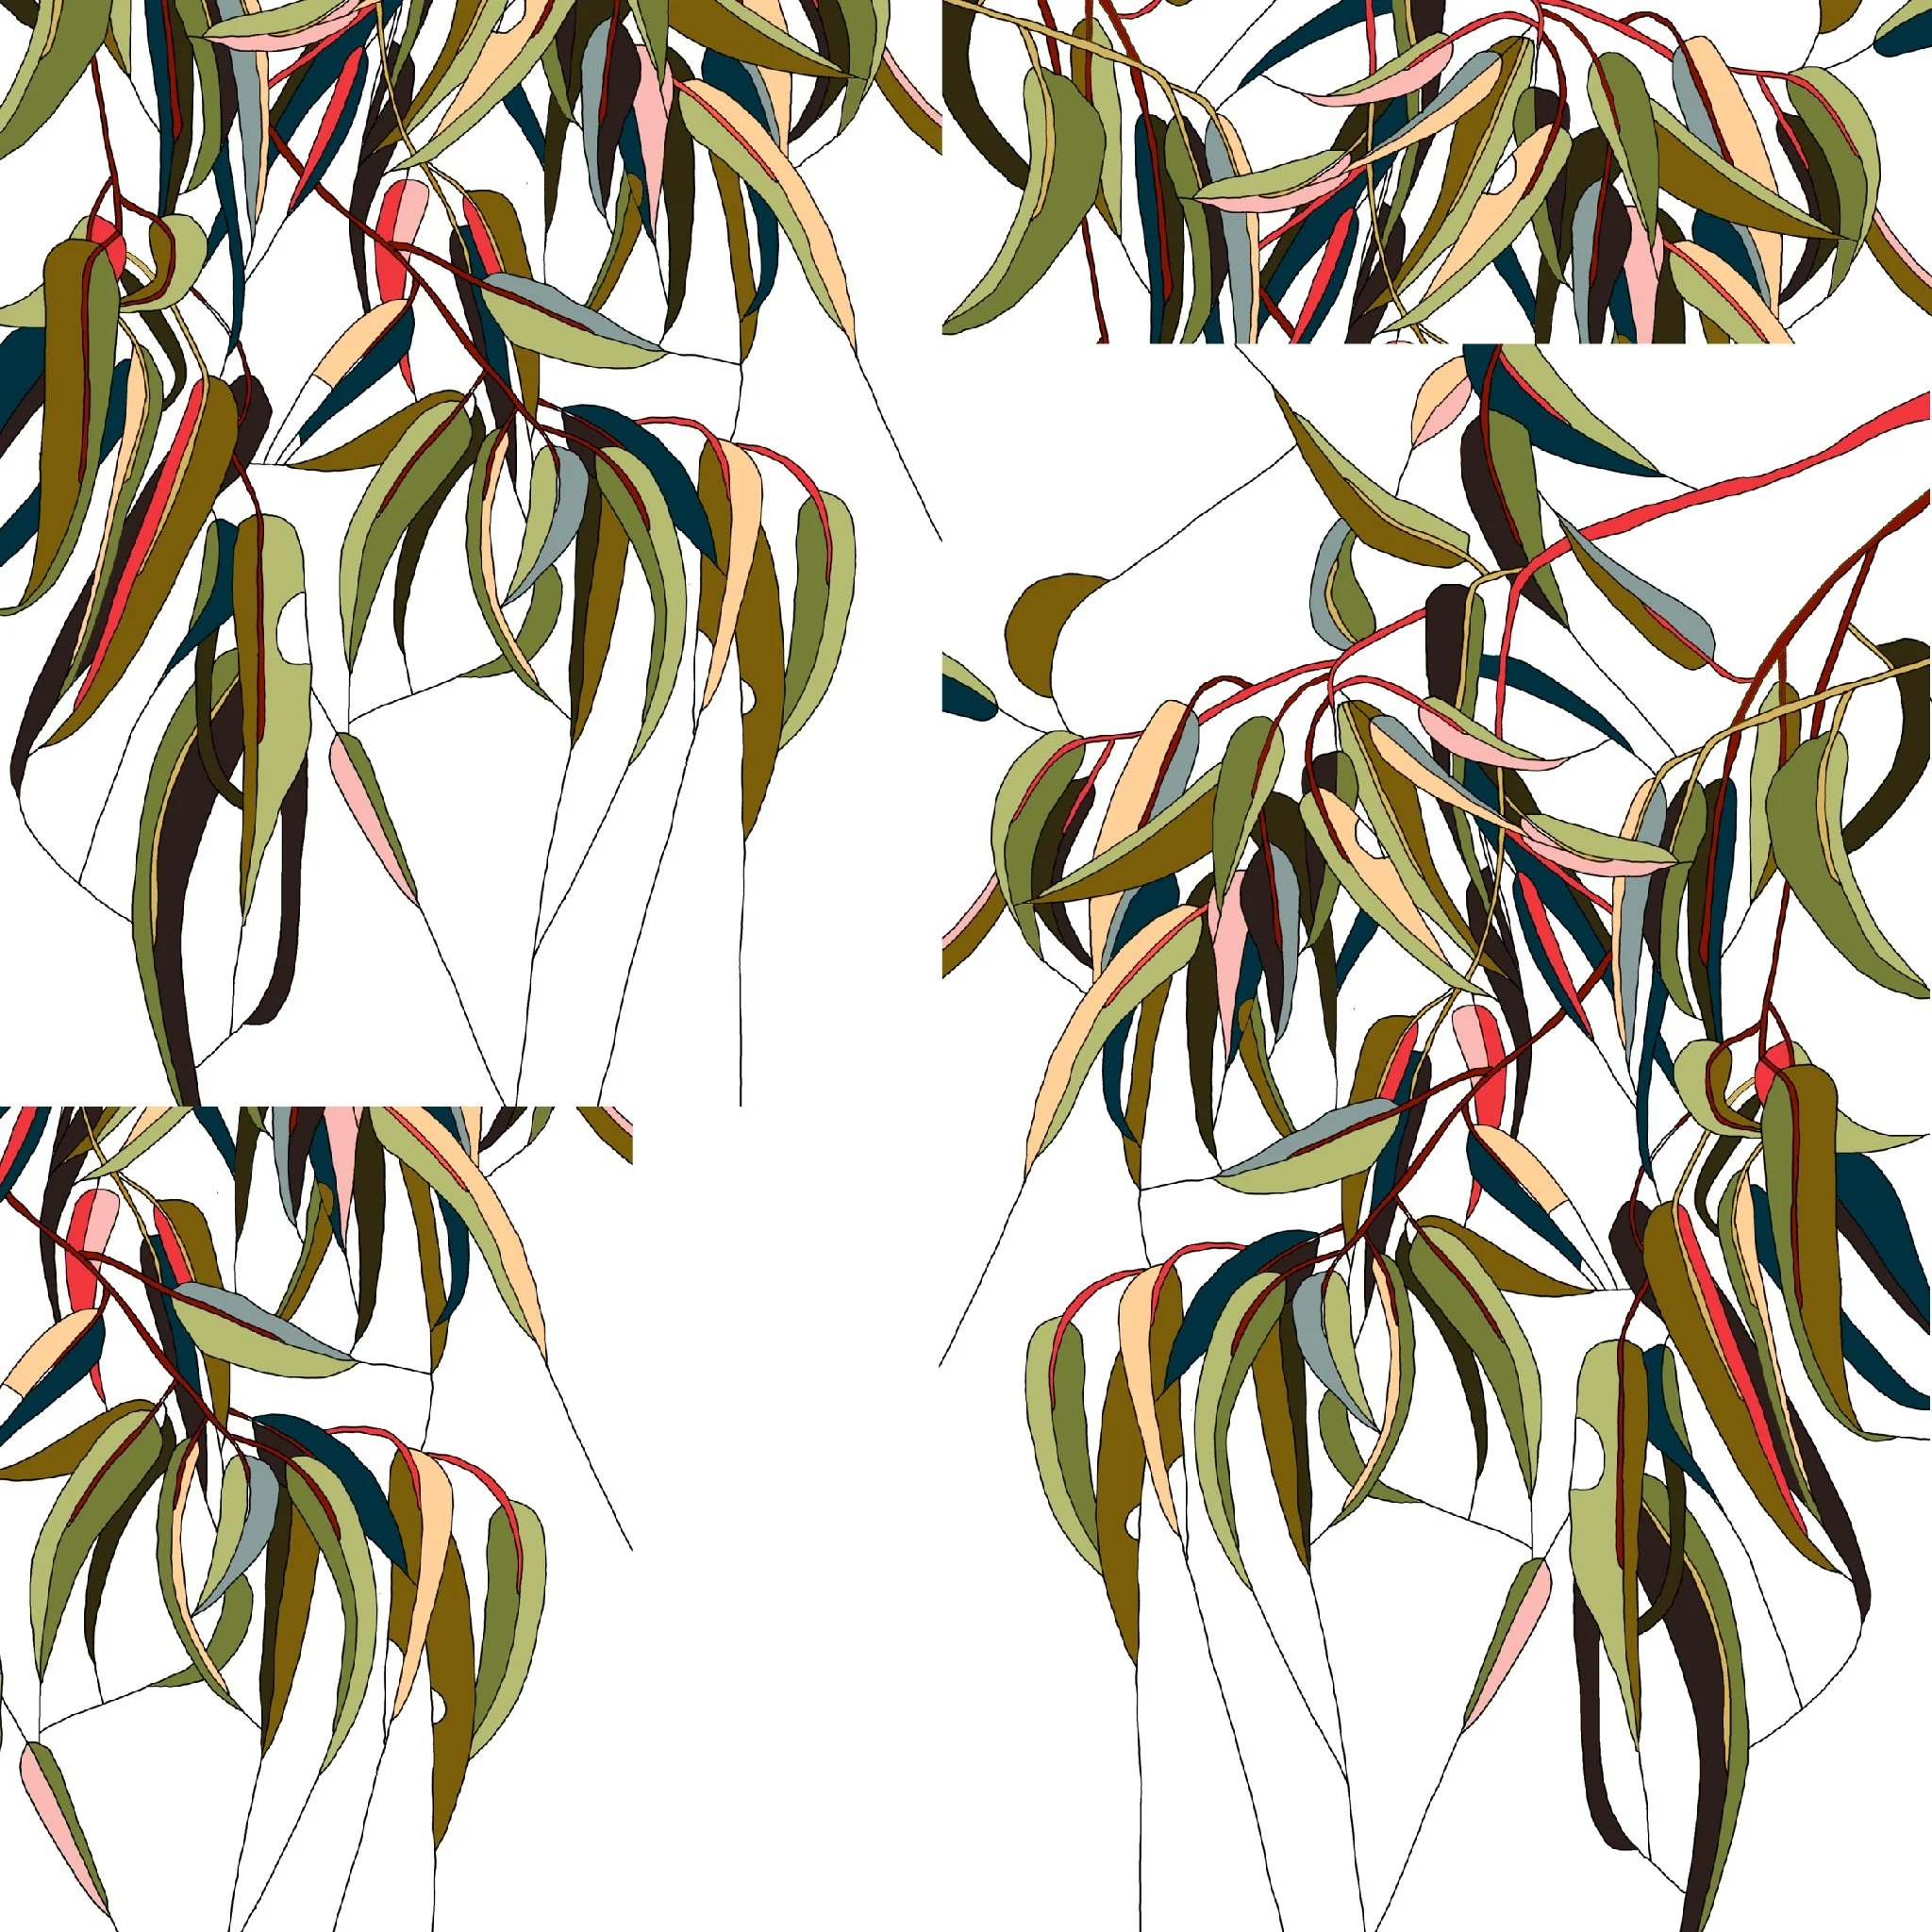
Here’s one example. The bottom right hand section is the original design.
For the top right section, I would then take a 40cm high section of the quilt pattern (you can mark it off in pencil). I would choose a section with lots of leaves, so that it resembles thicker foliage higher in the tree. When tracing this section onto interfacing, I would trace it in reverse, meaning that I would trace it on the ‘sticky’ or shiny side of the interfacing. When you cut it out and stitch it together, it will be in mirror image to your original design. One thing I would do, though, is to mark the notches and the piece numbers on the non-sticky side, so that you can easily see them once the interfacing is ironed onto the fabric.
For the top left section, I would repeat the original design, but trim some off the top and bottom, to make it about 120cm high.
Then for the bottom left section, I would mark out a 70cm high section of the quilt pattern and create it in reverse as above.
Before piecing these four sections together, trim them and square them up. Stitching them together will give you a quilt that is roughly 190cm wide by 190cm high. If you want to add borders to bring it to a queen size, I would add a large 10cm border in the background fabric and then bind it in a strong colour from the quilt, such as the vibrant pink.
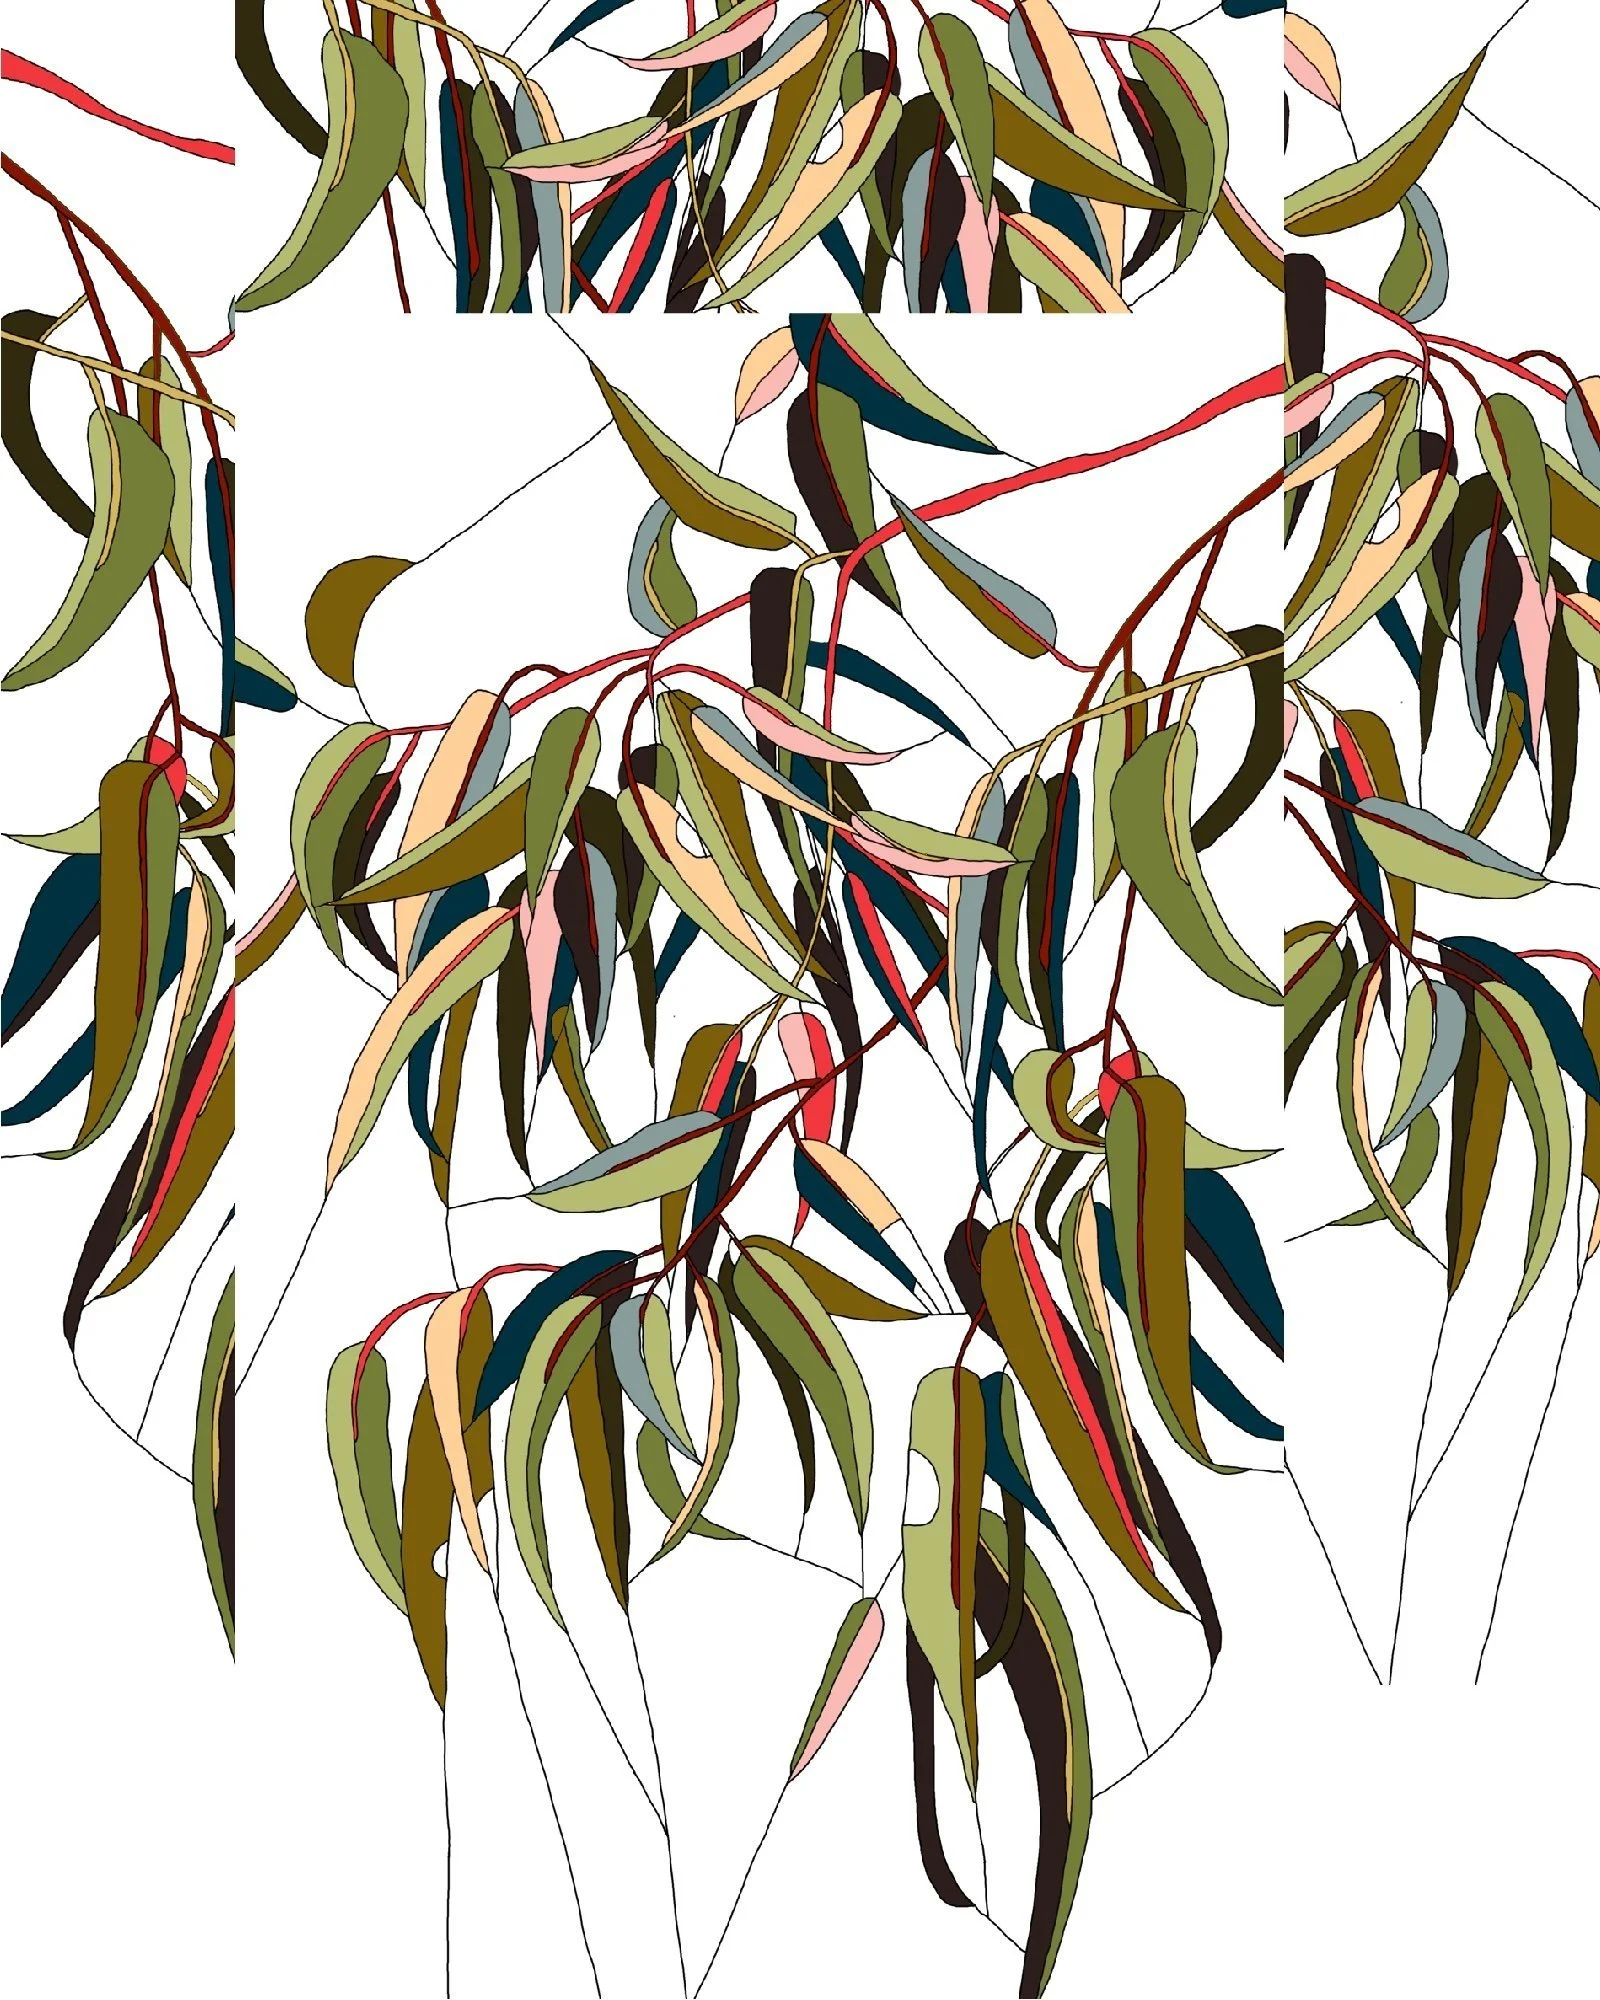
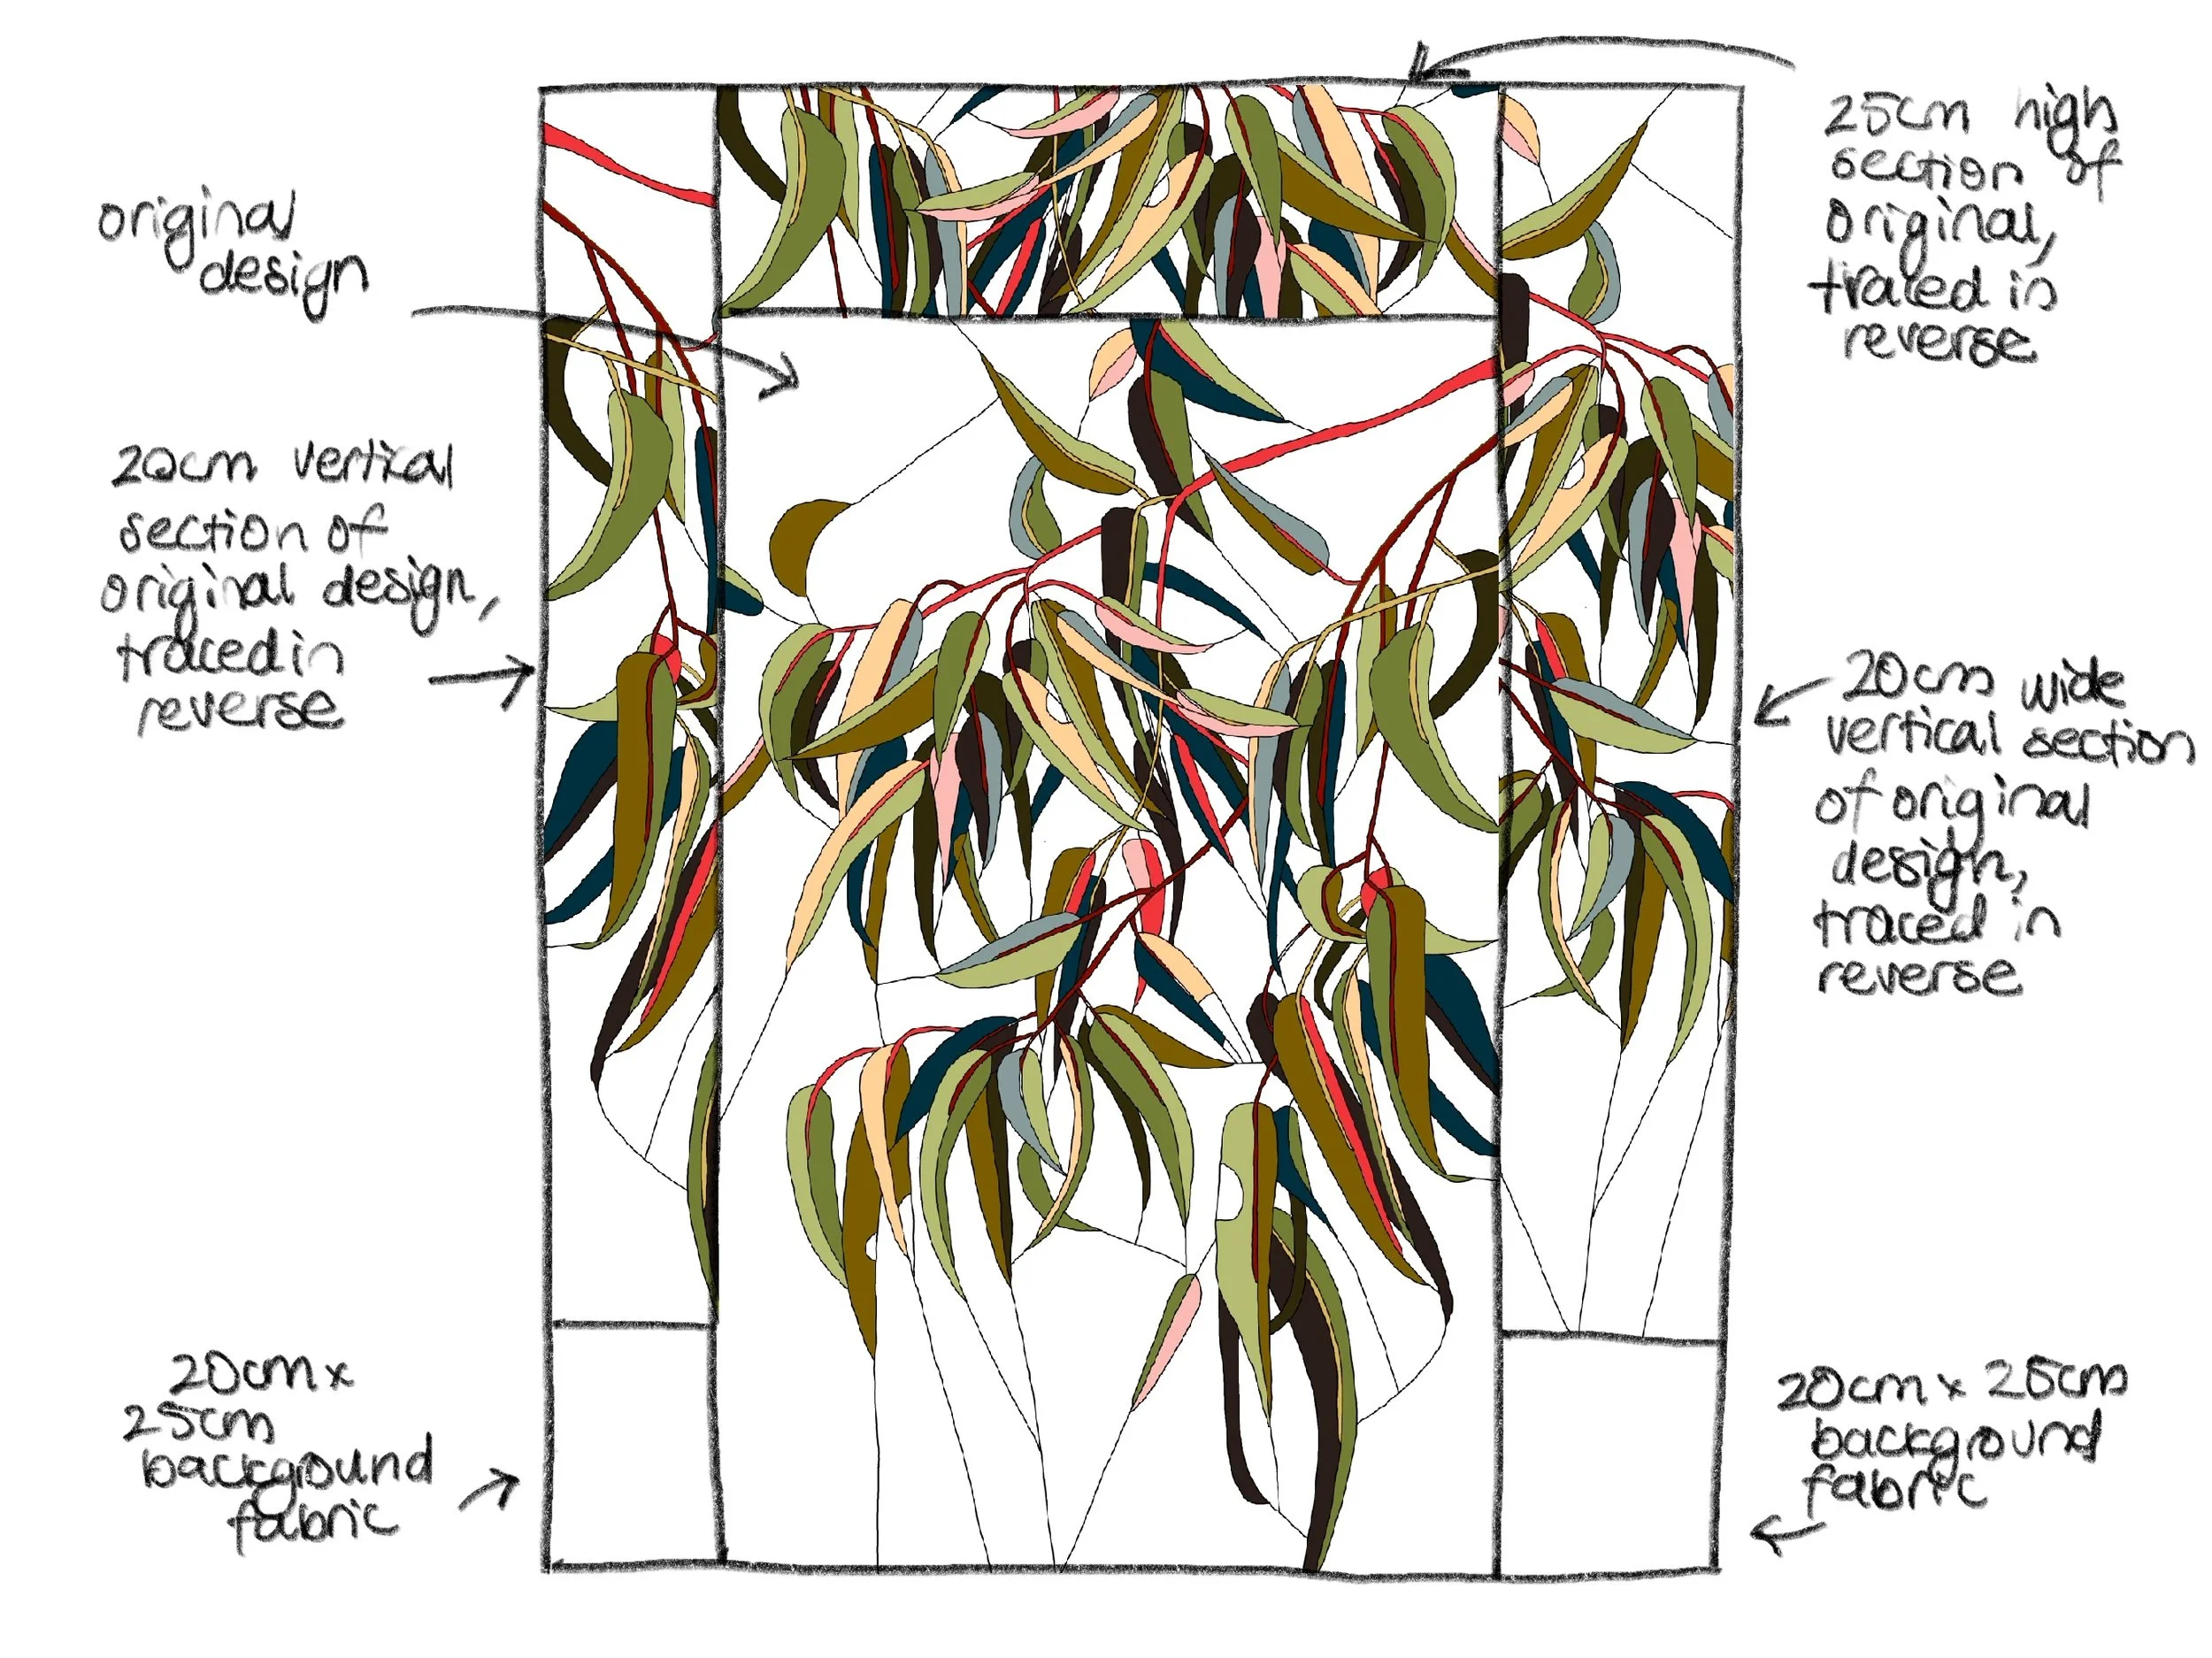
This next option is not a square quilt. It works out to roughly 115cm wide by 175m high.
The main centre section is the original design. For the top centre section, I would mark off a 25cm high section of the original quilt (where the foliage is thick) and create it in reverse (see above).
Then for the side panels, I would mark off two different 20cm wide strips on the original design, and create them in reverse. For the bottom corners, I would use plain squares of the background fabric.
As before, trim and square off all the sections before stitching them together.
I love a simple narrow binding for a quilt like this.
Really, there are endless options for how to make a larger quilt from this design. You could simply add borders, or you could create smaller blocks to repeat around the original design. Have fun with the possibilities!
