Two Blossoms QAL: Week 2
Welcome to Week 2 of the Two Blossoms QAL!
This week we’ll be tracing the quilt pattern onto interfacing, and cutting out the first section of the quilt.
Next week we’ll piece together the first section, and cut out section 2.
To join this QAL you will need to have my book ‘pieced’ as this contains the Two Blossoms pattern. ‘Pieced’ is available as a digital version here, or as a paper version here.
The QAL is hosted here via my blog, and you can share your progress with our QAL on Instagram. Follow the hashtag #twoblossomsquilt on Instagram, and post your weekly progress there with the same hashtag, or tag me @ruthdevosart.
Read Week 1 QAL post.
Sign up to receive weekly QAL reminder emails.
THIS WEEK
Trace the pattern onto the interfacing, cut out section 1. Post a photo or reel of your tracing, or the cut out quilt pieces. Be sure to tag #twoblossomsquilt and @ruthdevosart.
TRACING THE PATTERN
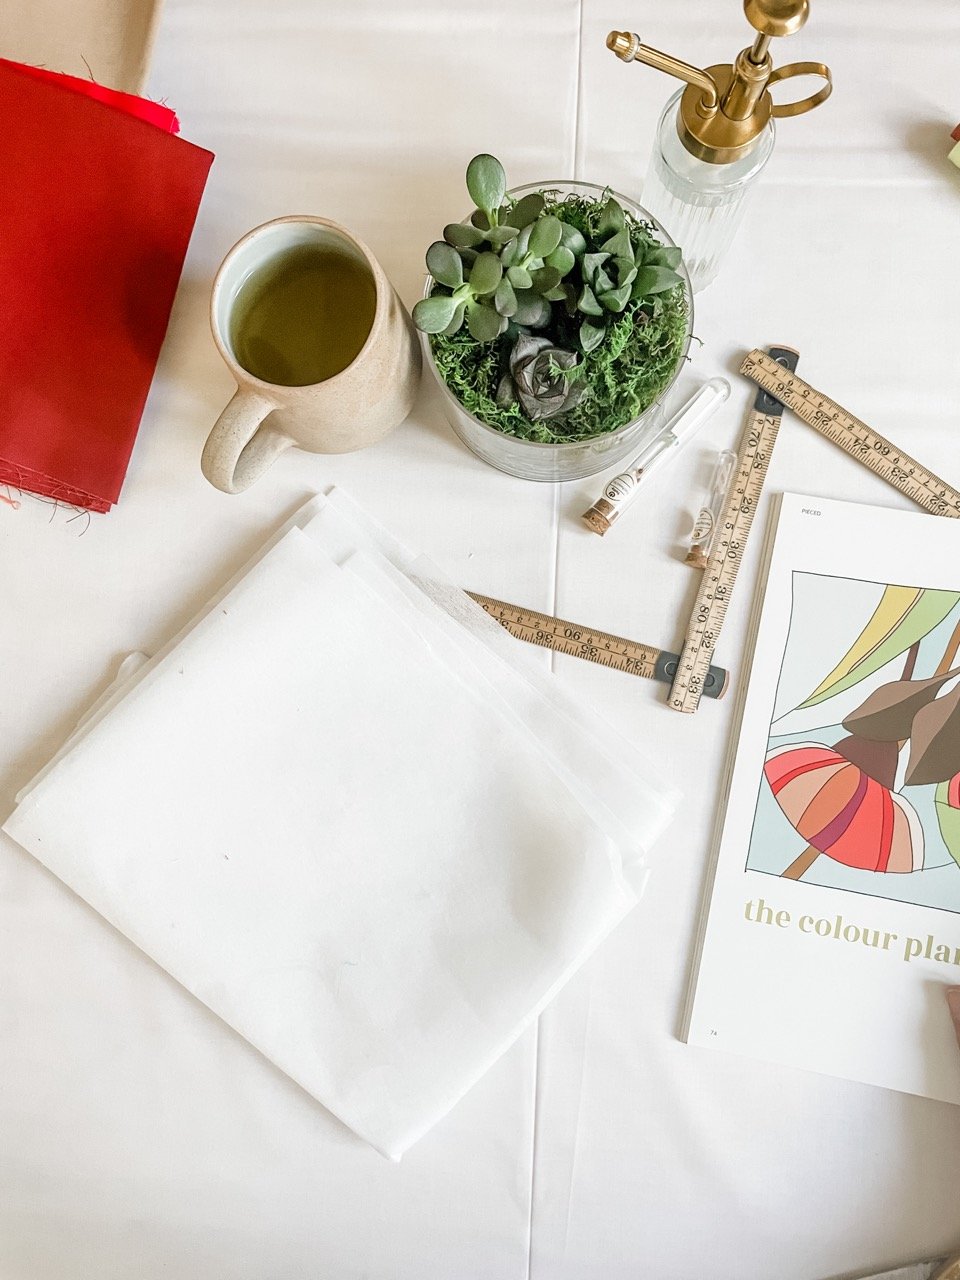
You should have a 60cm by 60cm piece of iron-on interfacing ready to go. I use a light or medium weight interfacing. Although brand doesn’t matter, I typically have Birch medium weight iron-on interfacing in my studio.
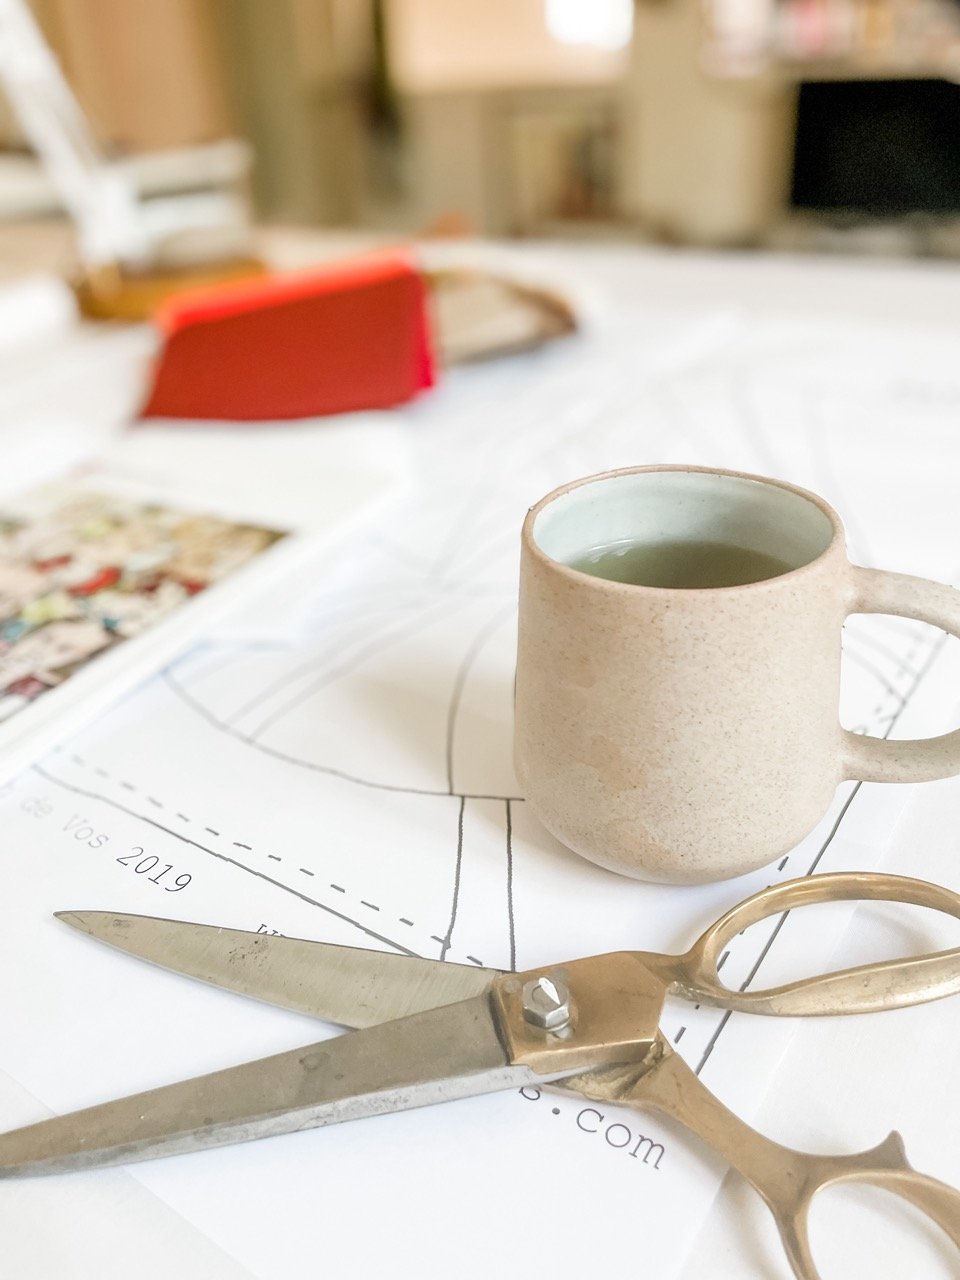
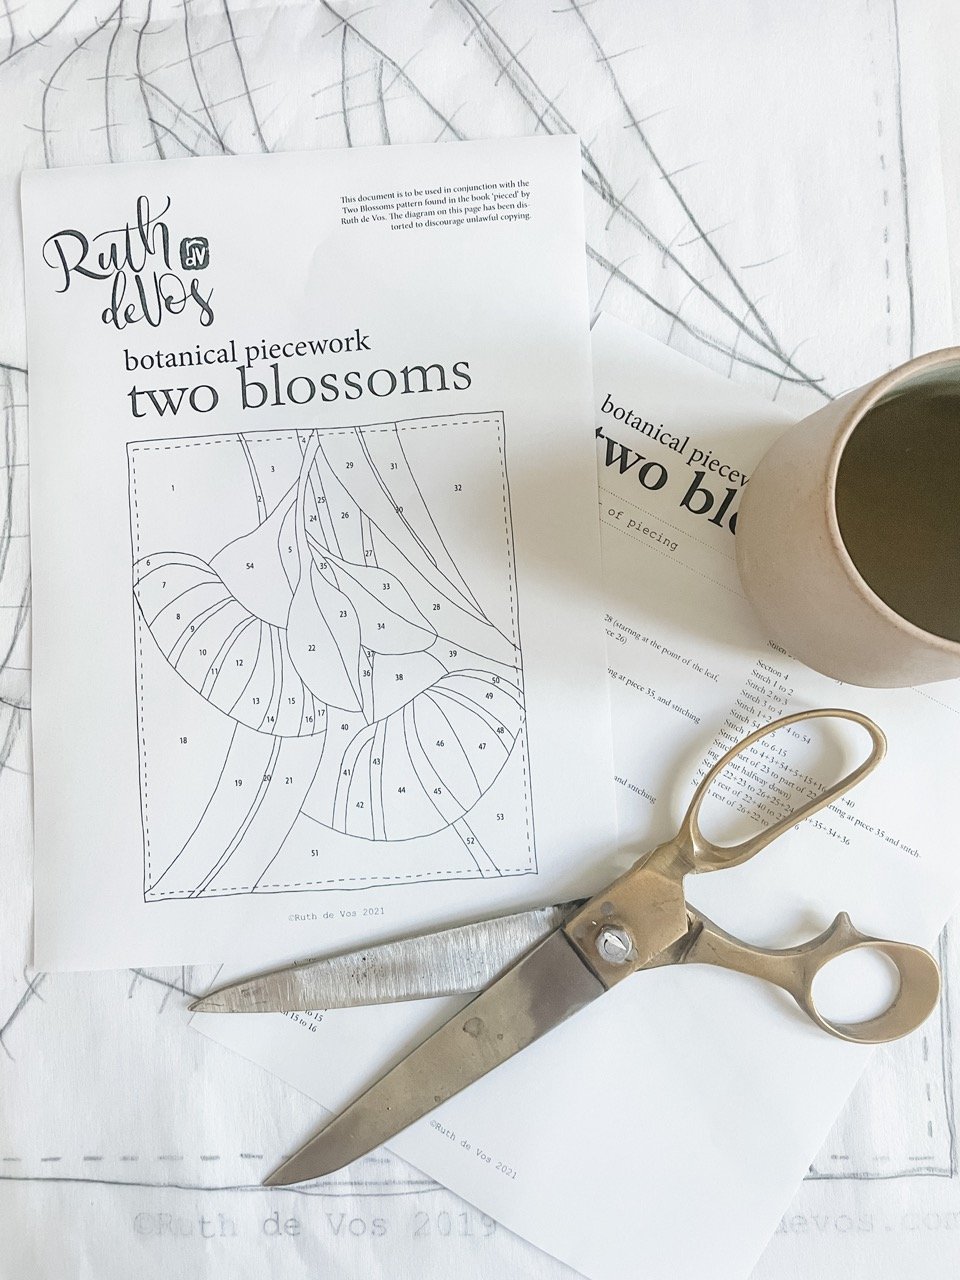
You’ll also need to have your full-size pattern ready to go. If you have a paper copy of my book this is simple, as it is tucked in the back of the book. If you have the digital version, that pattern is located in the pages at the end of the PDF. You will need to print these pages at a scale of 100% (do not scale to fit the page) and then stick the pages together. The pattern is designed to be 50cm by 50cm, but it is not the end of the world if your pattern turns out slightly smaller or larger.
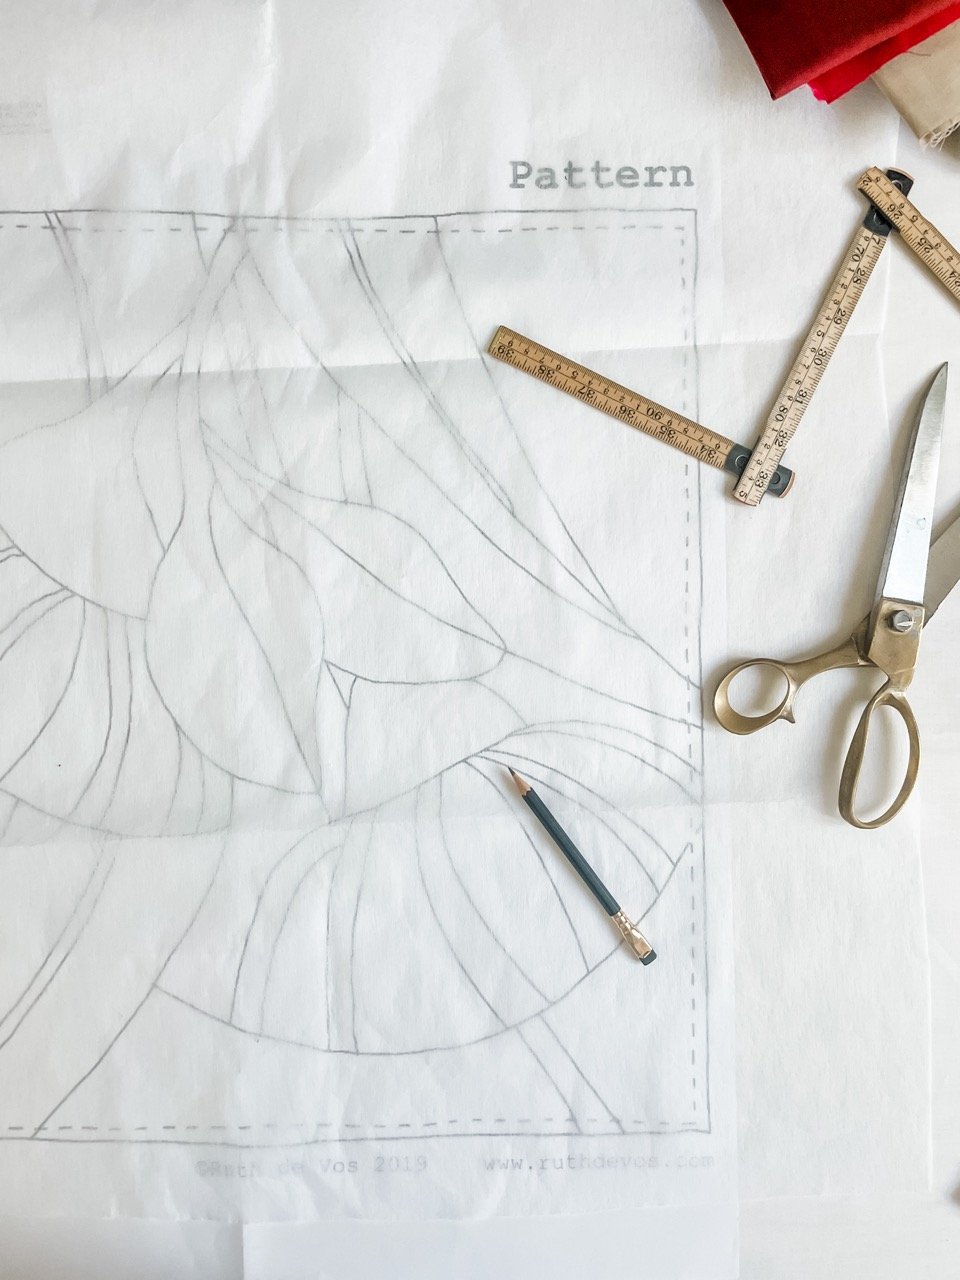
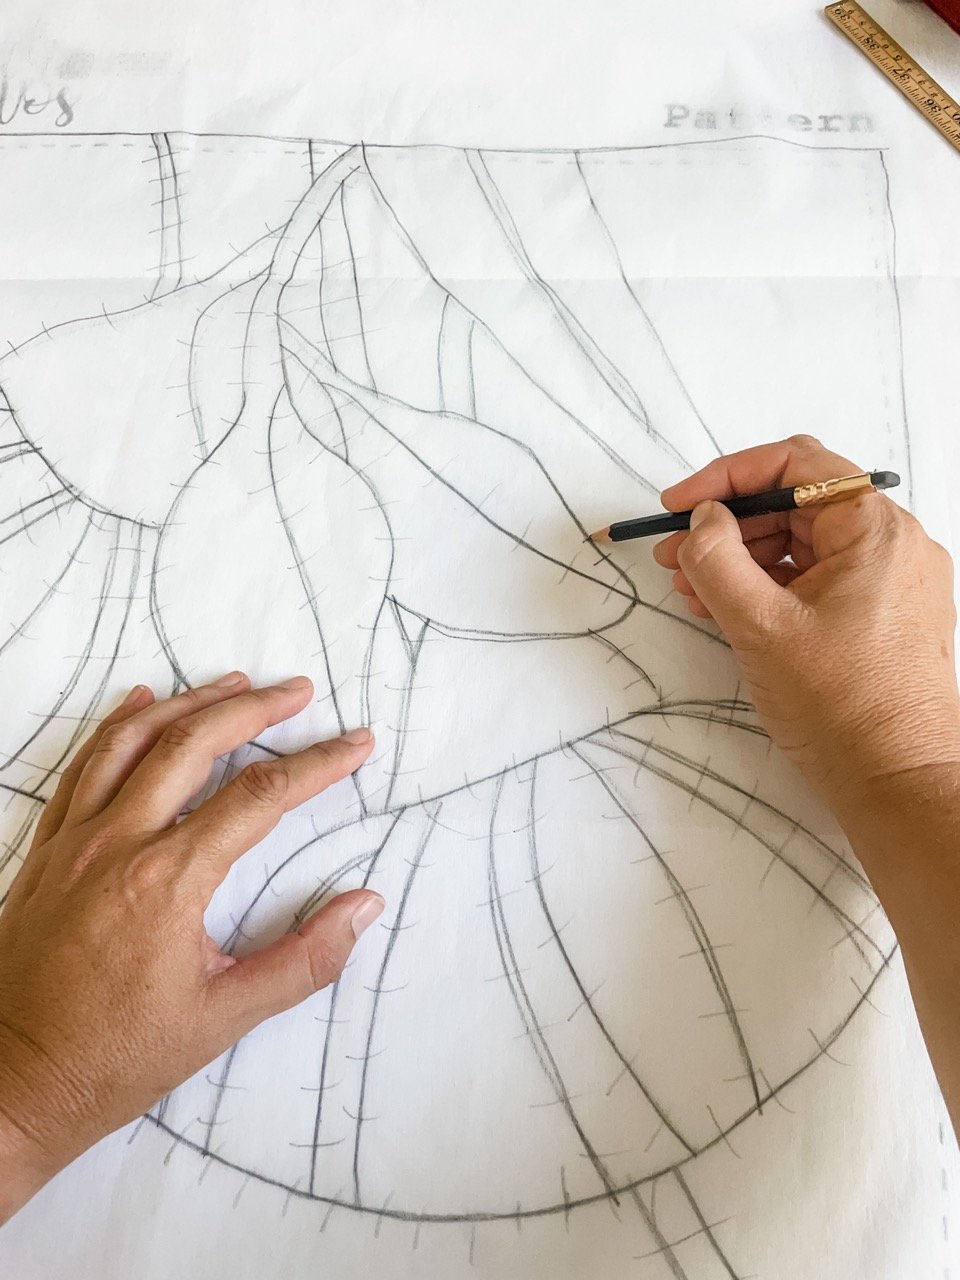
Now lay the interfacing sticky side down over the pattern. You should be able to see that one side of the interfacing has a shine to it. This is the glue waiting to be melted when you iron it onto the fabric, and this is what I mean by ‘sticky-side’. The sticky side should be touching the paper. Please note that the finished quilt will be a mirror image of the paper pattern.
You may like to pin the interfacing into place before you start tracing.
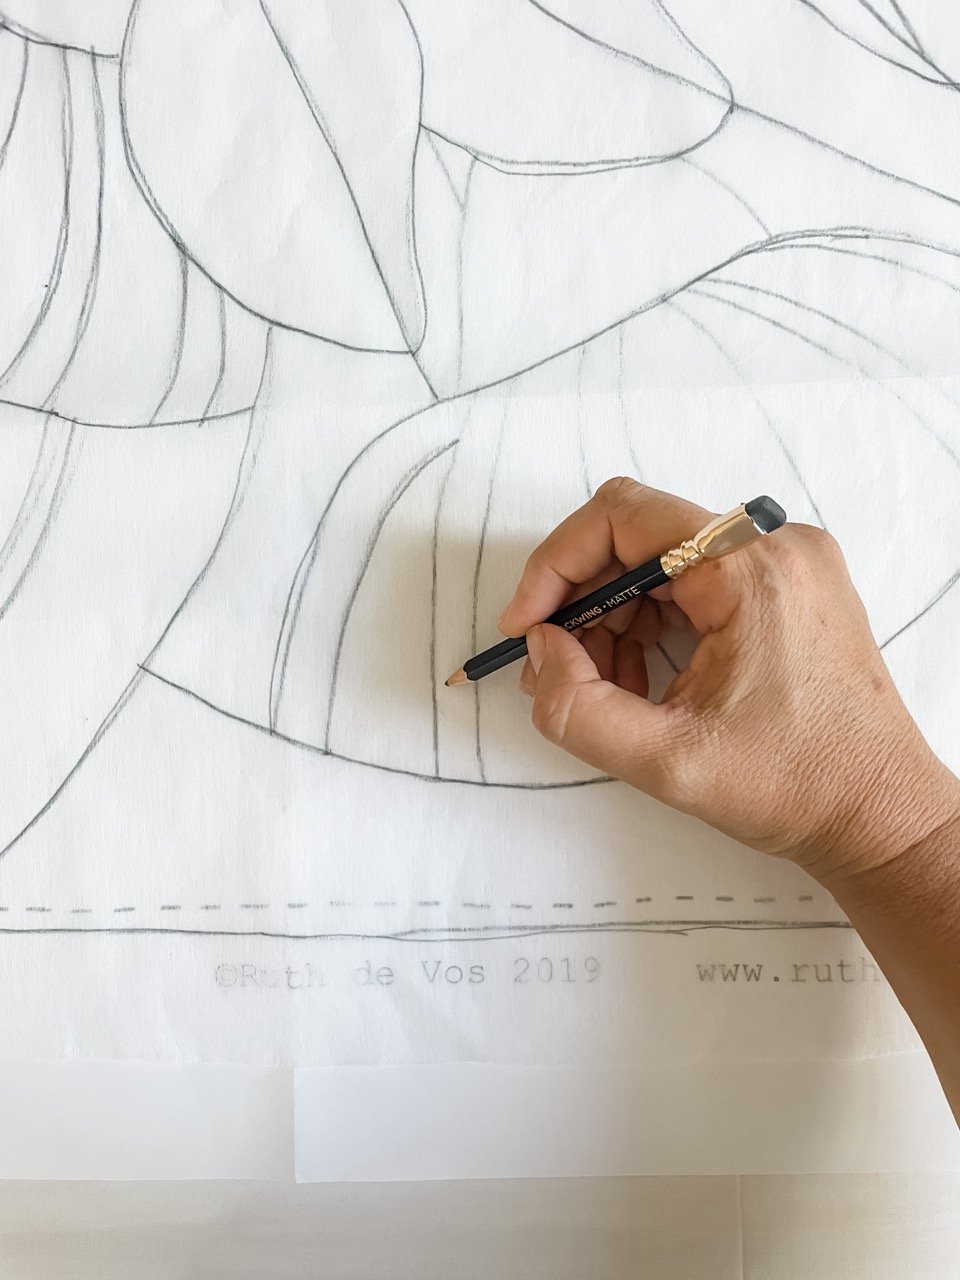
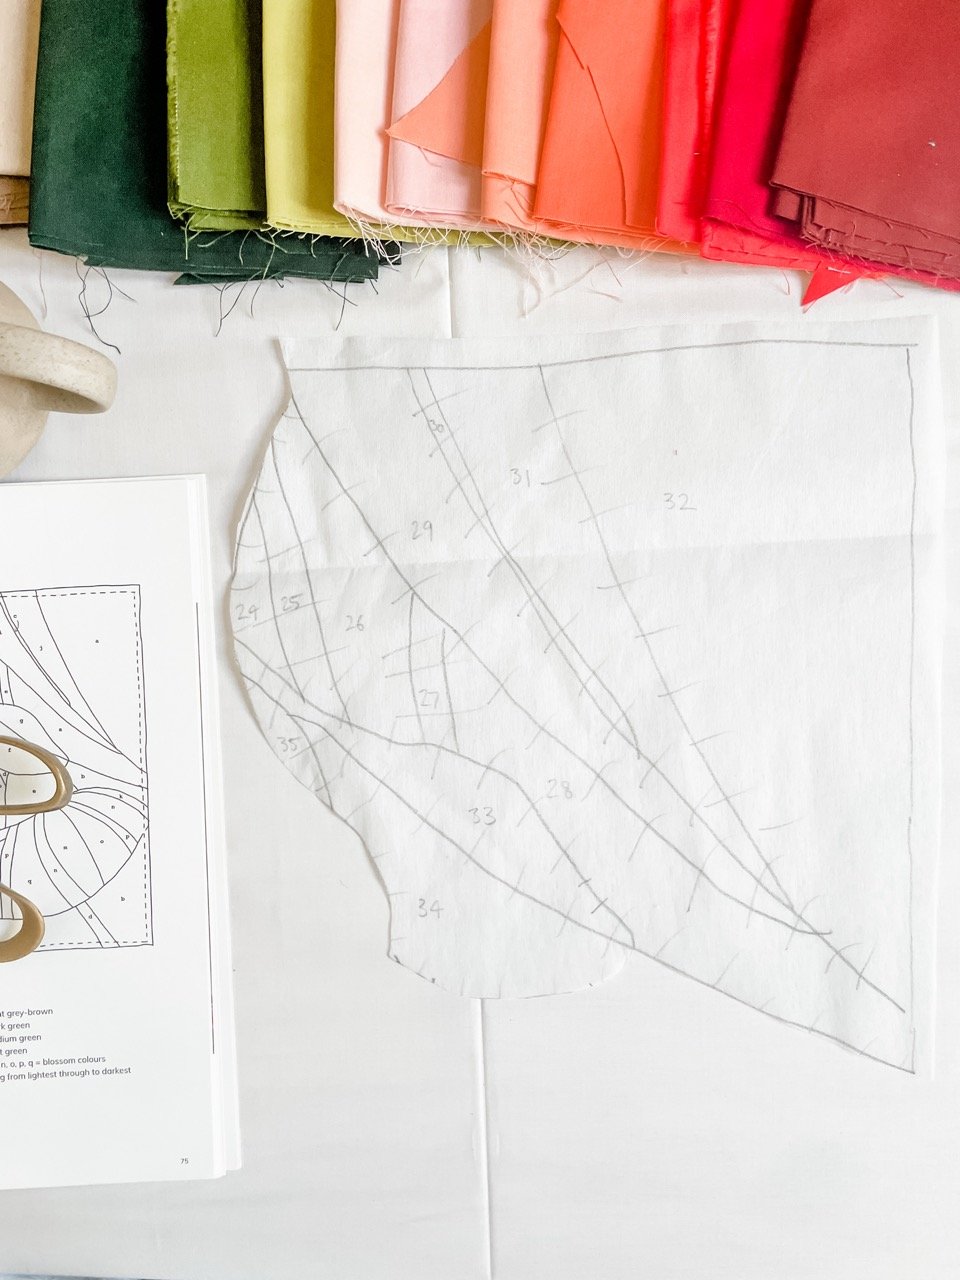
Using a soft lead pencil, trace the pattern onto the interfacing. You’ll note that there is a solid border line, and a dashed line. Ignore the dashed line. This marks the intended edge of the quilt, but I’ve added a bit extra on every side so that we have enough quilt to work with when we square it up before binding later on. So only trace the solid border, along with every other solid line. All of these other lines will be our seam lines. Double check that you don’t miss any!
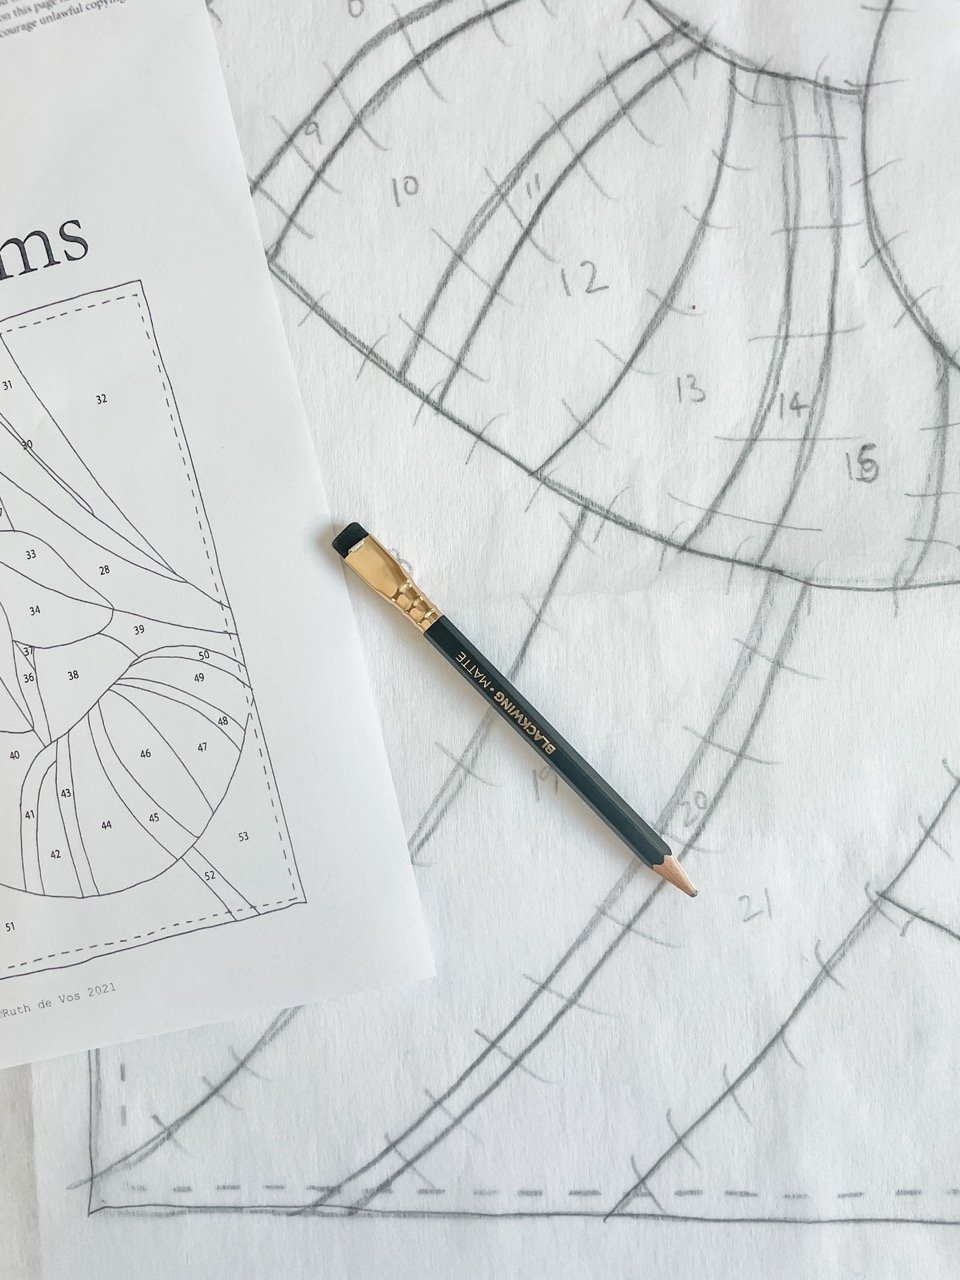
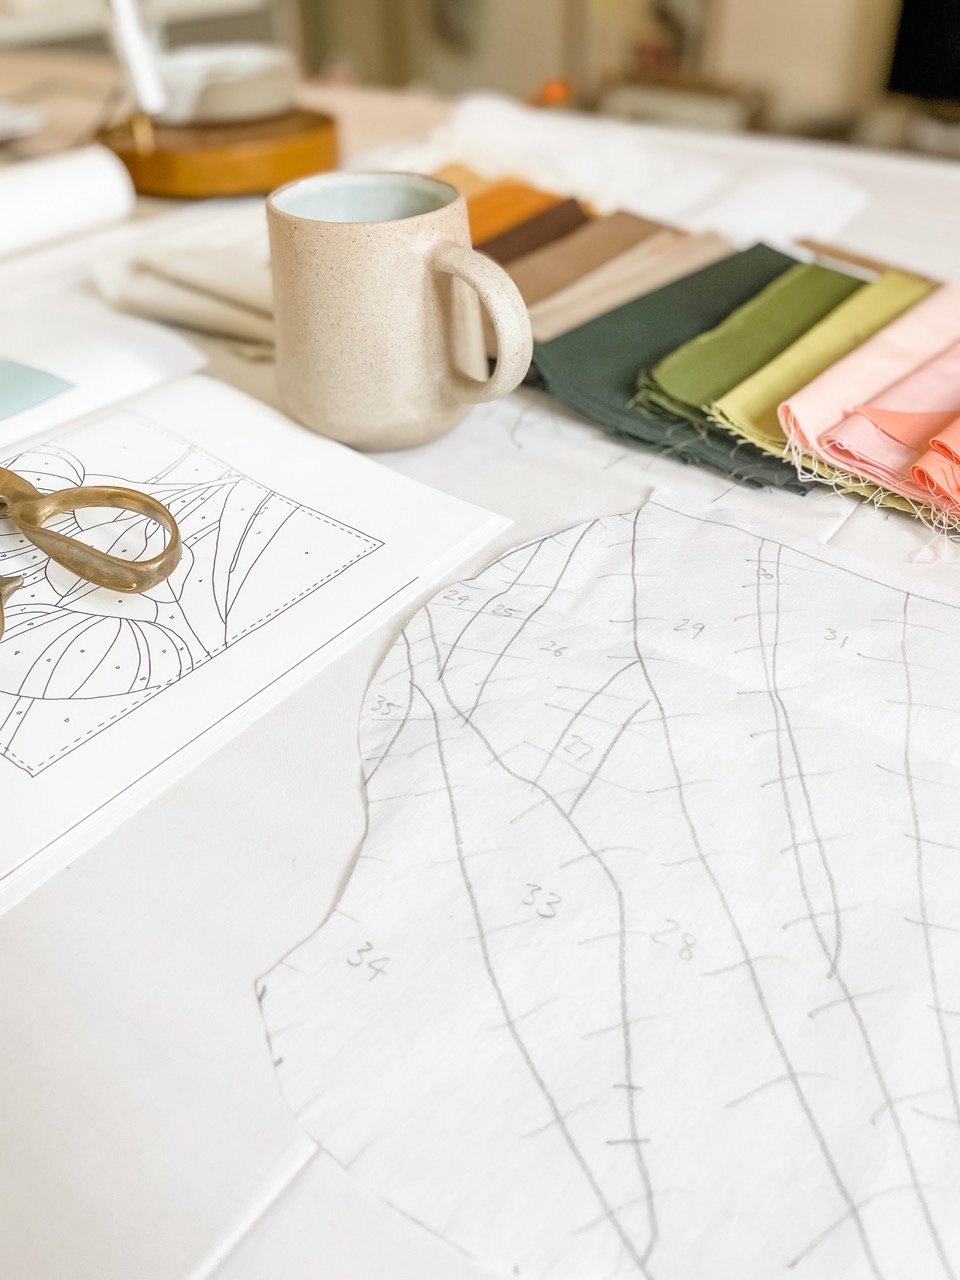
Once all the lines have been traced, add dashes or notch markings to every seam line. These should be short lines that cross perpendicular to the seam line and are roughly 2cm apart (maybe a bit closer for tight curves and a bit further apart for straight seams). These dashes will be invaluable in getting the quilt pieces into place later on, so be sure to double check that every seam line has dashed marked on it. Especially check the tops and bottoms of each blossom, as these tend to be missed.
You should also refer to the ‘order of piecing’ PDF to add numbers to the interfacing. When I published ‘pieced’ I wasn’t using this system of numbering, and writing out and ‘order of piecing’ for my quilt patterns, which is why this is now available as a separate PDF, and why the numbers aren’t included on the original quilt pattern.
So, three things:
- trace seam lines
- add dashes
- add numbers
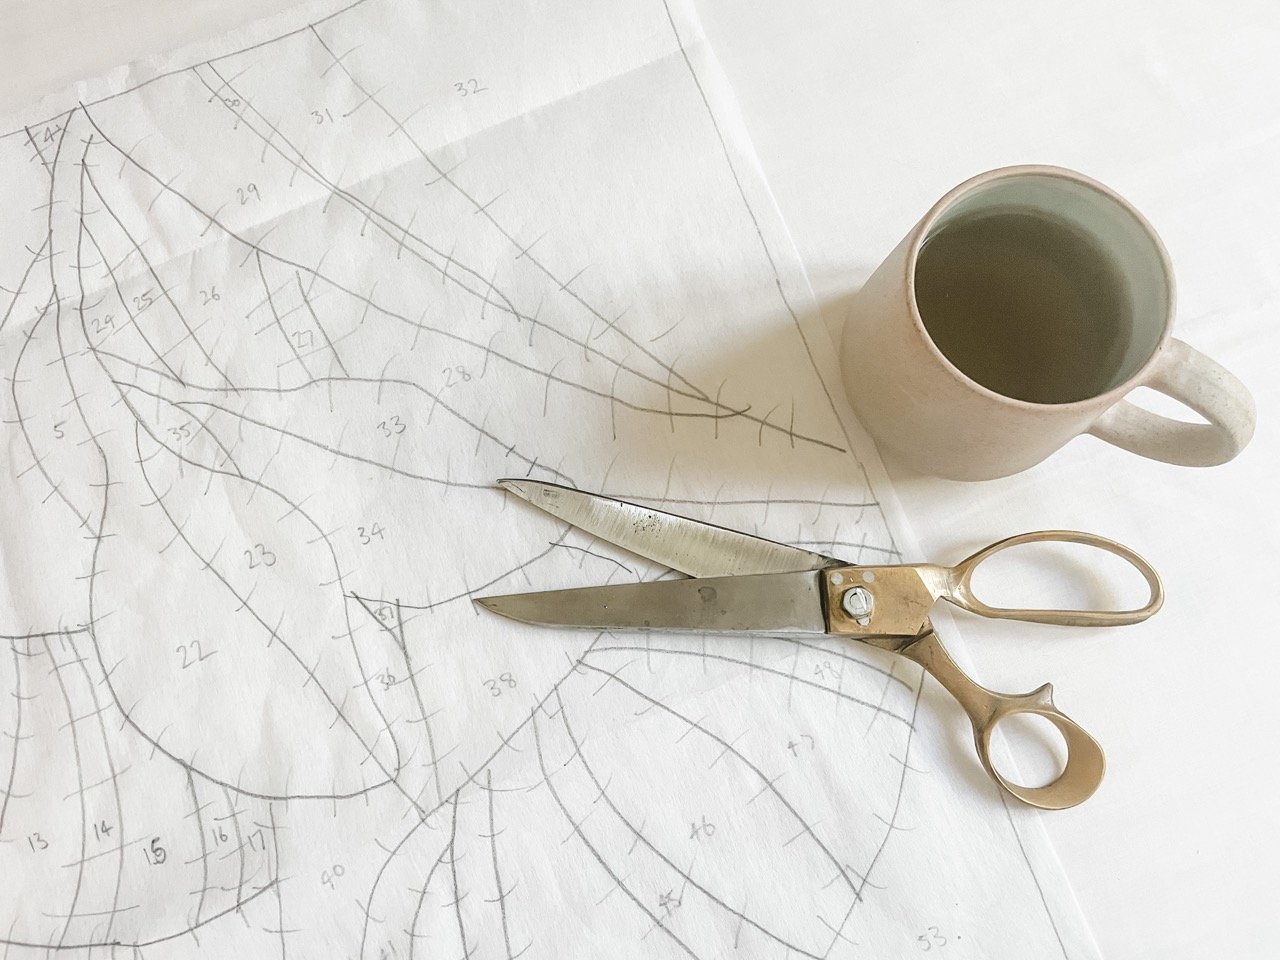
Now you can cut out the traced pattern. I like to add an extra cm all around, for good measure.
Time to tidy up your workspace in preparation for cutting out the first quilt section!
CUTTING OUT SECTION 1
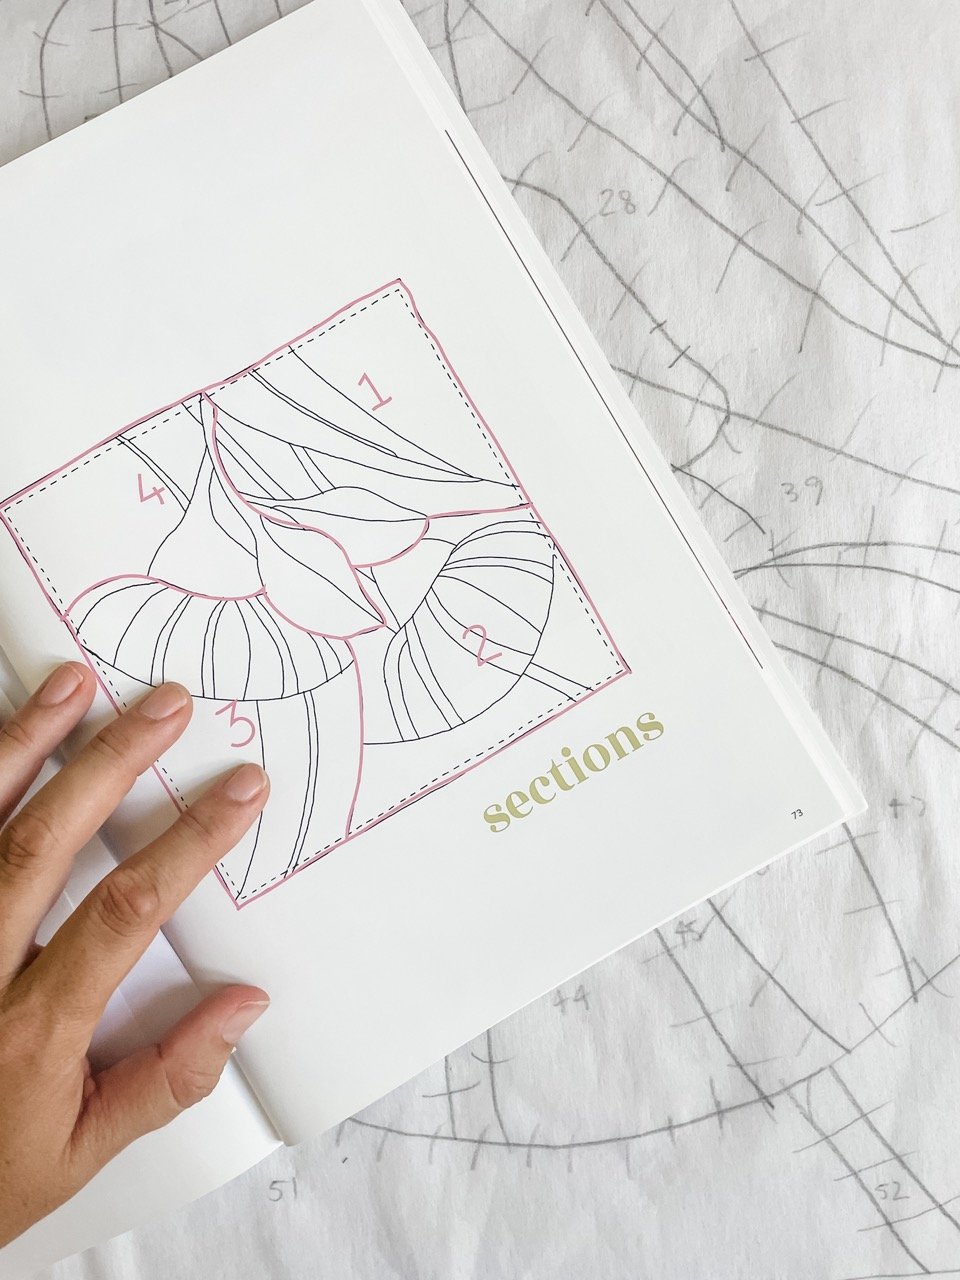
Refer to the sections diagram in the book. I’ve divided this quilt into four sections. I always work in manageable sections like this. So, we’ll start with section 1.
Carefully cut section 1 of the traced interfacing. Mark it with a squiggly pencil line first, if that’s helpful for you.
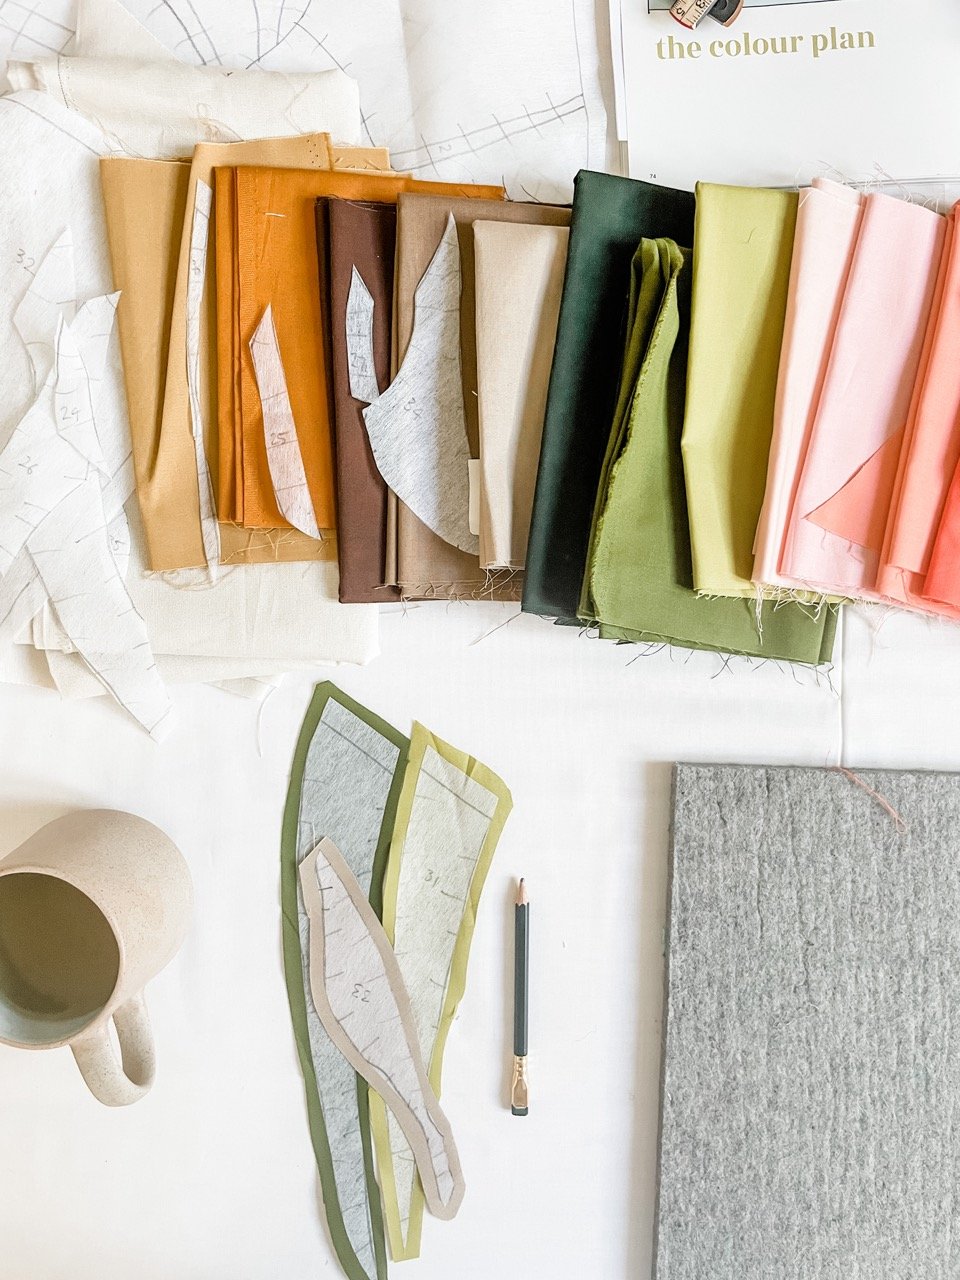
Now, make sure your fabric is laid out where you can see all the colours, and that you have an iron, ironing board, fabric scissors, and a piece of baking paper handing.
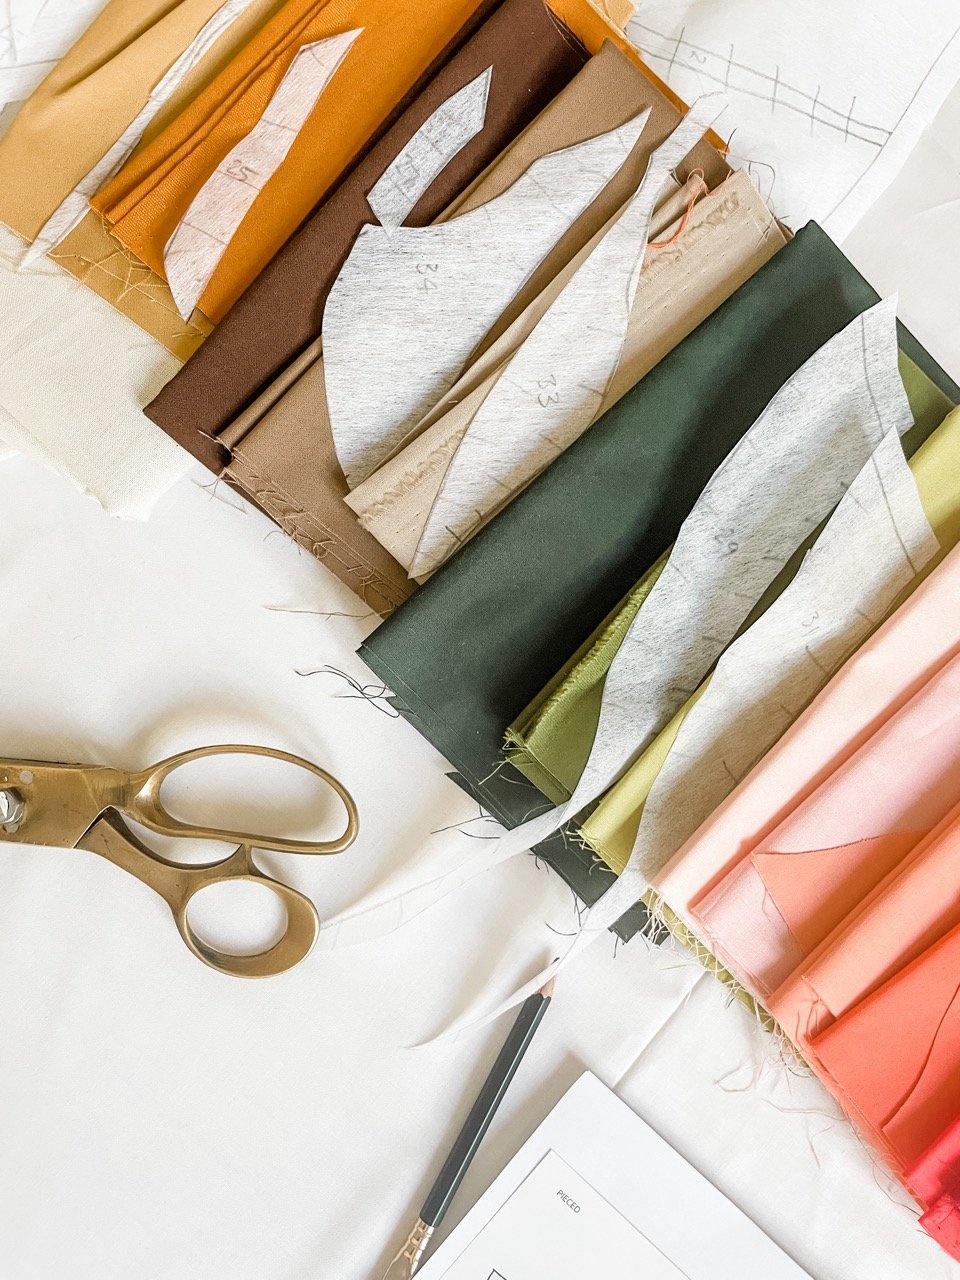
I like to cut out all the pieces in the section, and lay them onto the correct colour fabric. Refer to the piece numbers and the colour chart for this. So, all the interfacing pieces that will be background are laid onto the background fabric, all the pieces that will be dark green are laid onto the dark green fabric and so on.
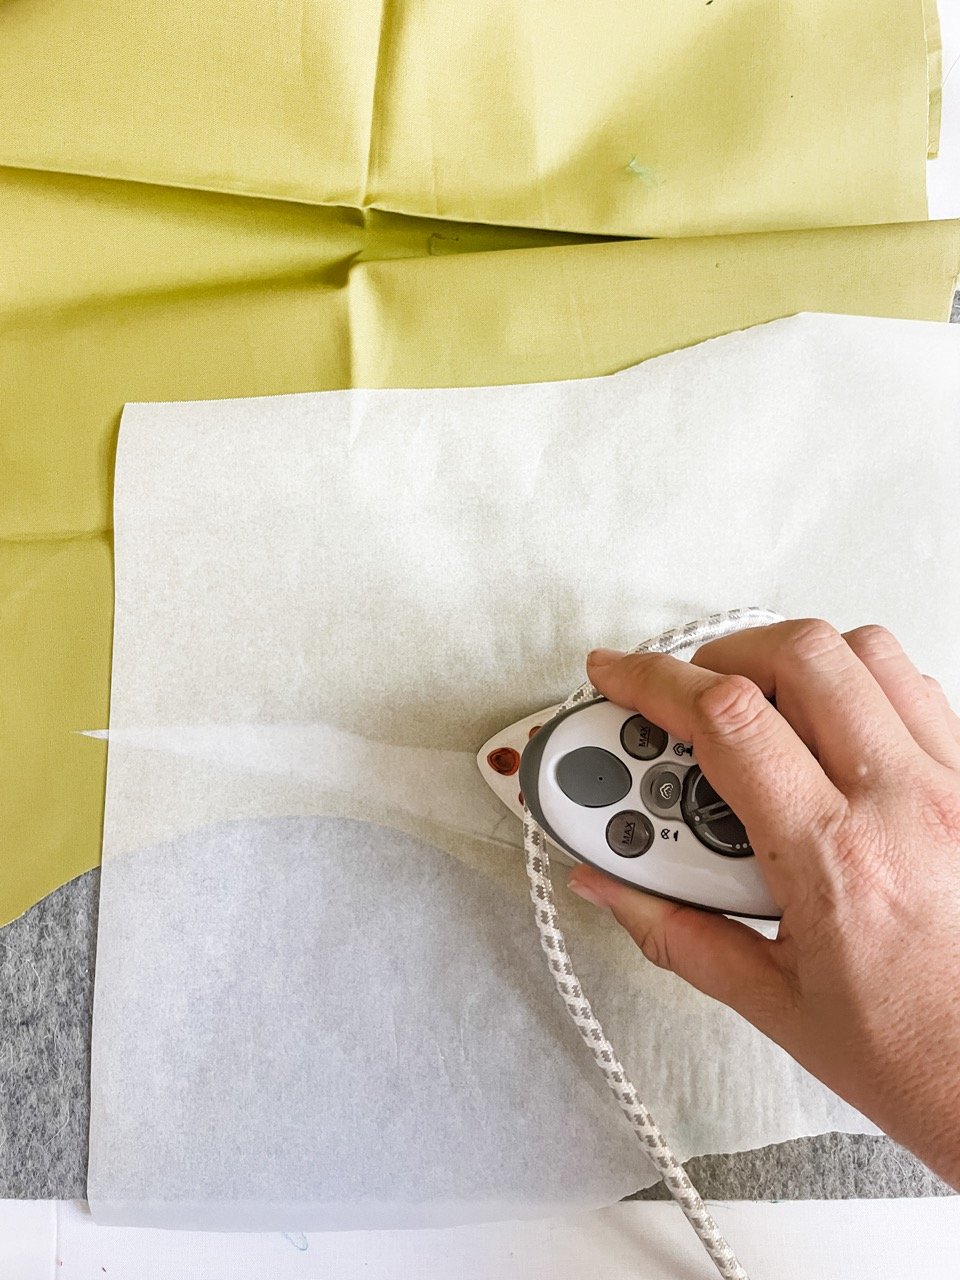
Then I take one fabric colour at a time, and iron the interfacing onto the fabric. Unfold the fabric onto the ironing board, and lay out the interfacing, STICKY SIDE DOWN, onto the fabric. I ignore the grain of the fabric, and aim to lay out the pieces so as to minimise fabric waste. It is very important, though, to leave enough room around each piece of interfacing for a 1/4 inch seam allowance. I’ll repeat that: LEAVE ROOM AROUND EACH PIECE OF INTERFACING FOR AN ADDED SEAM ALLOWANCE.
Some irons like to chew up some types of interfacing, so I always place a piece of baking paper between the interfacing and the iron. Press the interfacing onto the fabric until it adheres. (Sometimes, during the piecing process, interfacing works its way loose again, and I need to come back and re-iron it).
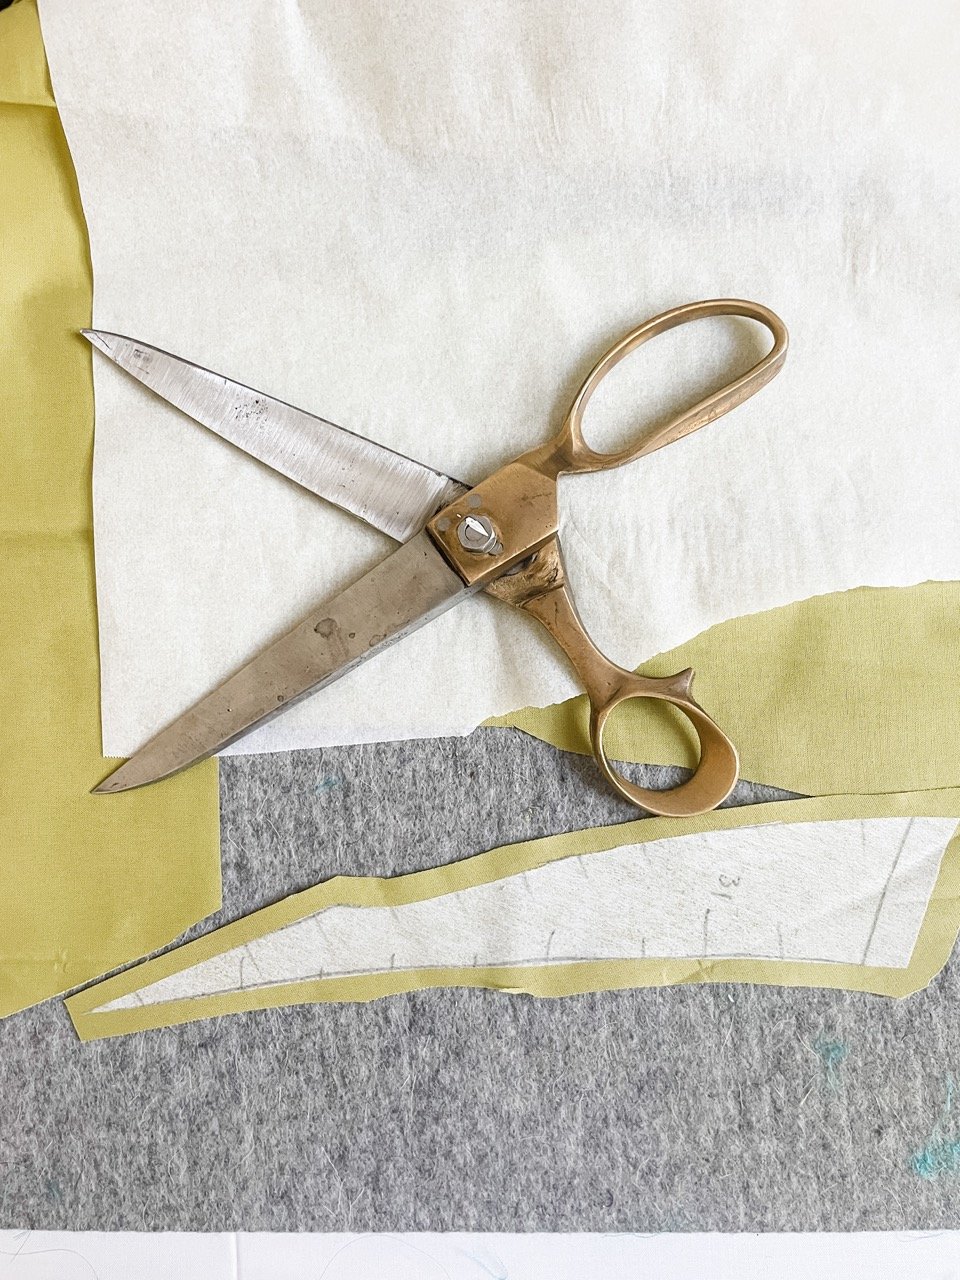
Then cut around each interfacing piece, about 1/4 inch away from the interfacing. This is your seam allowance. It does not need to be exact; just stick to roughly 1/4 inch. If it’s much larger it will be difficult to manipulate the fabric.
Repeat this for each fabric colour, until all the section 1 pieces have been cut out.
Keep your quilt pieces in a neat, safe stack, ready for piecing together next week.
