Designing a Piecework Quilt: A Guide to Drawing a Pattern
Creating an art quilt using piecework is an exciting and rewarding process that begins with designing your quilt pattern. The approach you take in drawing up your design will significantly impact how you construct your quilt, so it’s essential to plan carefully. Here’s a comprehensive guide to help you design a stunning piecework quilt.
The Basics of Designing for Piecework
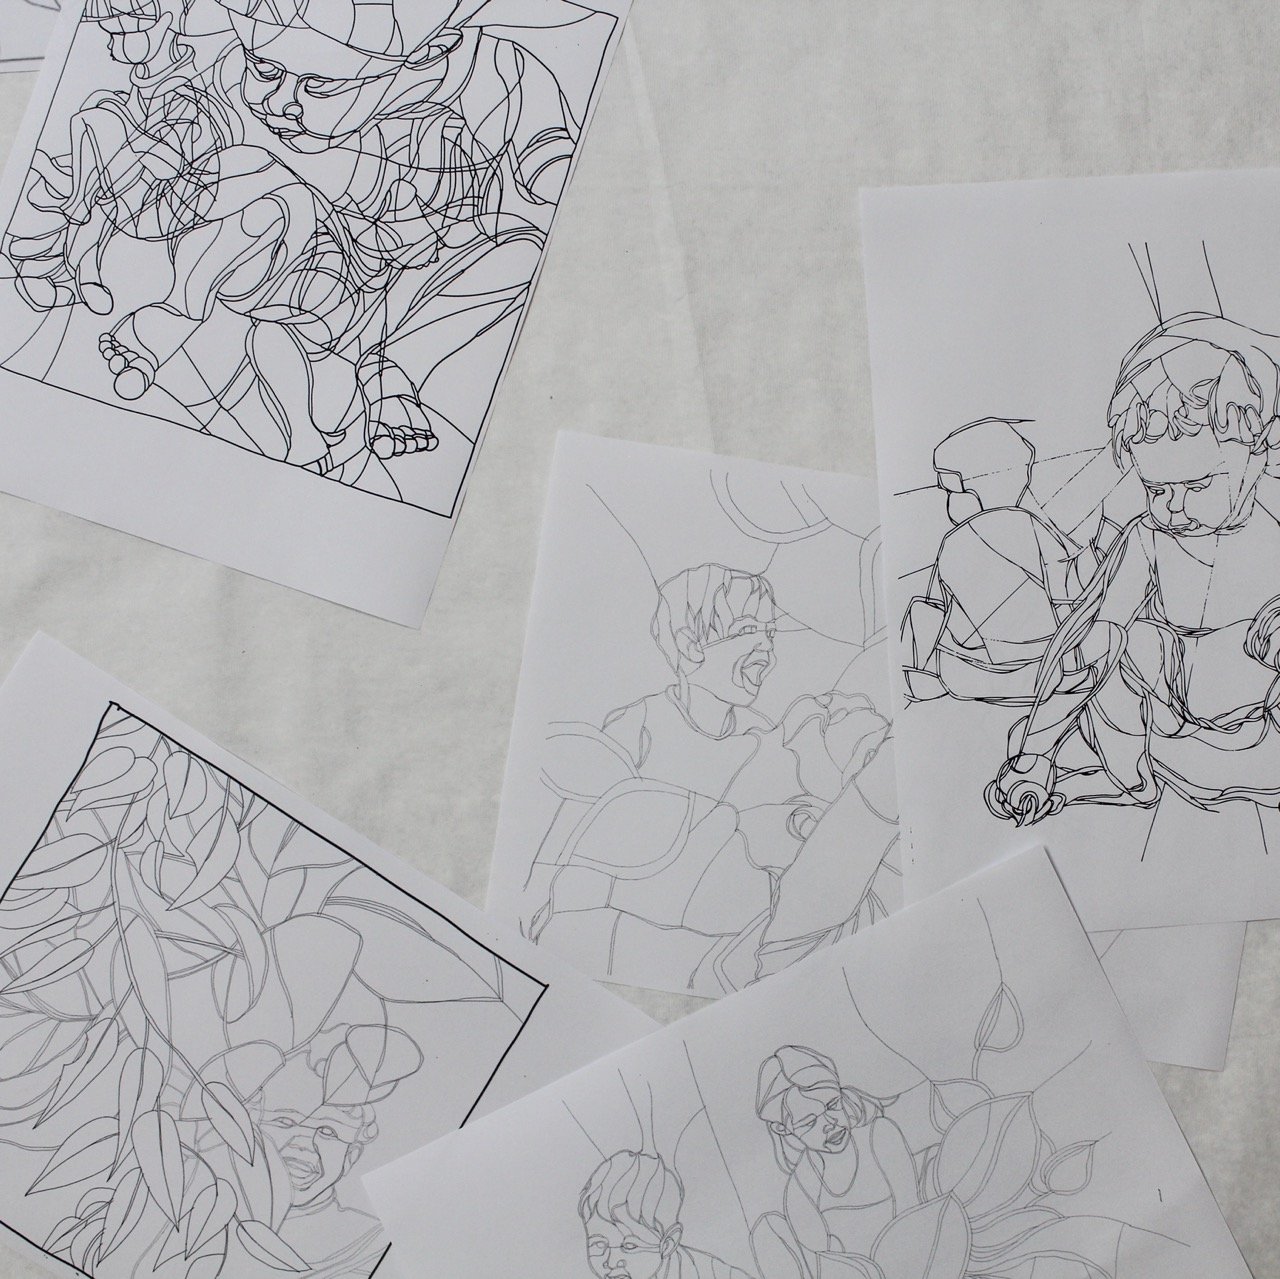
When designing for piecework, it’s crucial to think in terms of blocks of color. Each piece of fabric in your quilt acts as a separate ‘color block.’ Every line in your final design represents a seam where two pieces of fabric will be stitched together.
Consider Your Sewing Skills
The complexity of your design should match your sewing skills. Smaller pieces and tighter curves can make piecework more challenging. If your design exceeds your skill level, you may find the process frustrating. It’s best to start with simpler designs and gradually increase the complexity as you become more confident in your sewing abilities.
Drawing Your Quilt Pattern
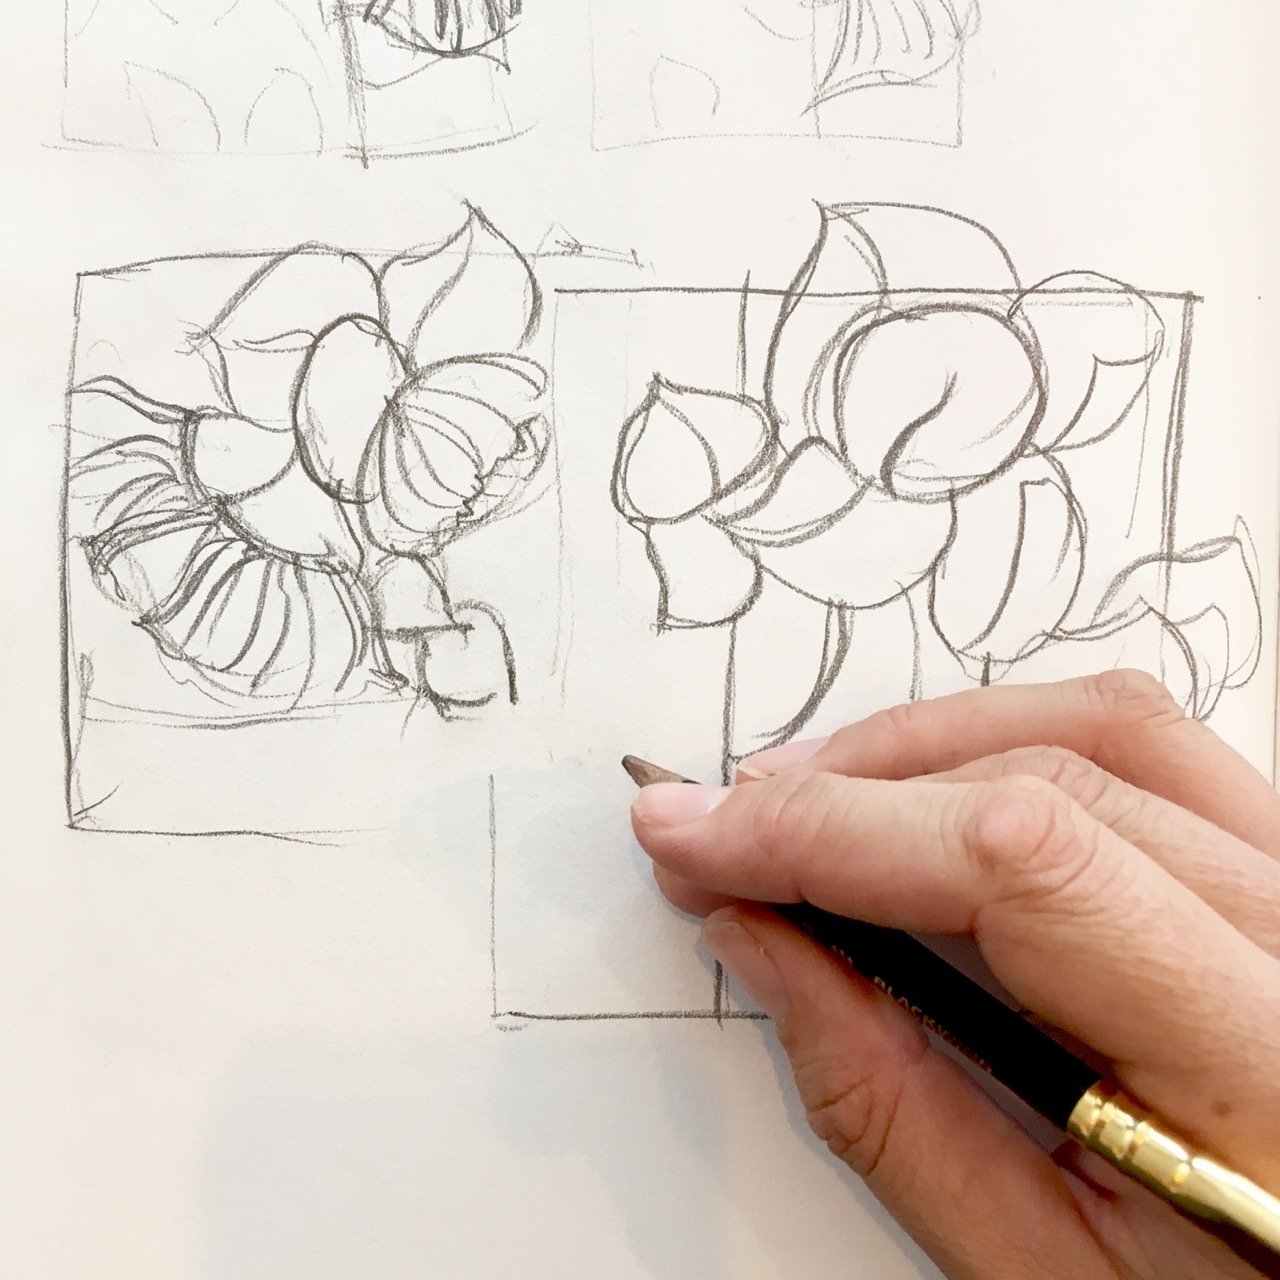
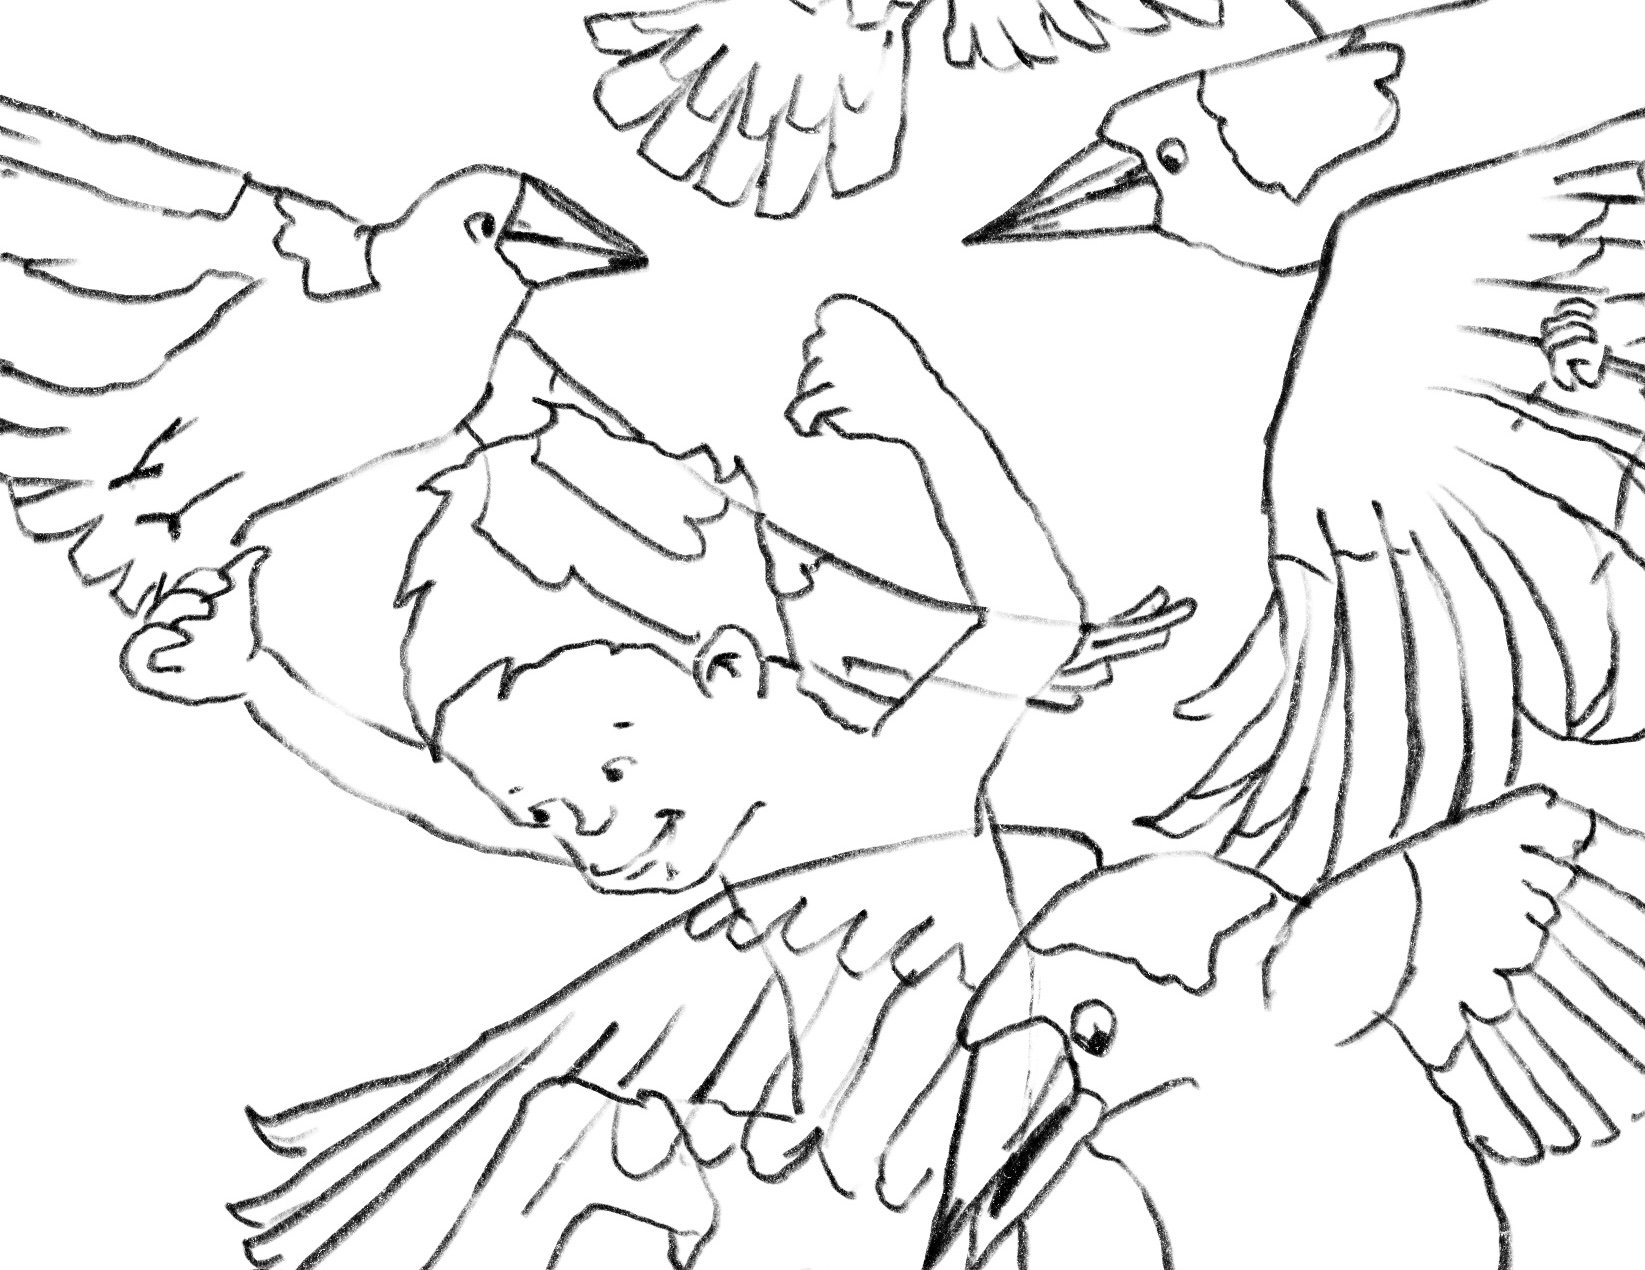
1. Choose Your Thumbnail Design: Start with a thumbnail sketch that you are happy with (click below to see my previous post about developing a design with thumbnails). I find that starting with a small thumbnail sketch helps to make sure I don’t make my final pattern too complex. This will be the foundation of your quilt pattern.
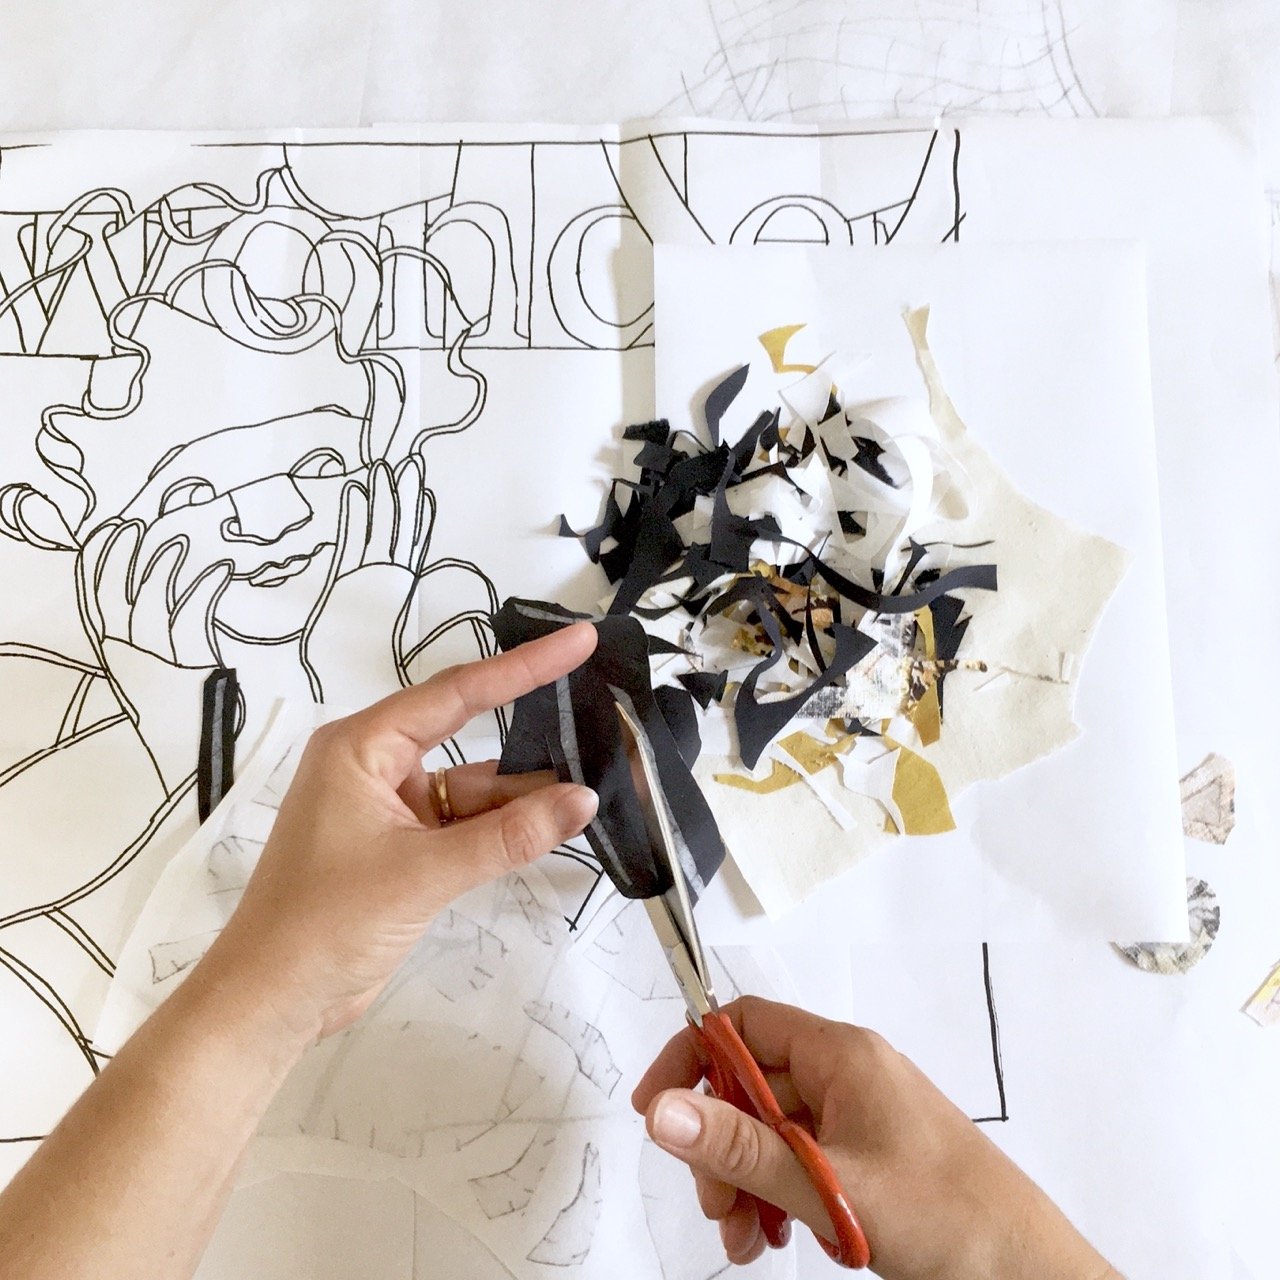
2. Think in Jigsaw Pieces: Imagine your design as a jigsaw puzzle made up of color patches. Wherever there is a change in color, draw a line. These lines will become seams in your quilt.
3. Determine Piece Sizes: Consider how small or skinny the smallest pieces of fabric will be. While it is possible to piece very small bits, keep the sizes manageable based on your skill level. Consider whether you need to simplify your design, or whether you can add more details to make it more interesting.
4. Decide on Quilt Size: The size of your final quilt will determine how much detail you can include. Larger quilts can accommodate more detail, while smaller quilts require simpler designs. Adjust your design accordingly, either by simplifying it or adding extra detail if you feel up to the challenge.
Tips for Drawing Your Pattern
• Avoid Tight Curves: Tight curves can be difficult to sew. Soften these curves wherever possible to make the construction easier.
• Use Construction Seams: For very tight curves or those that are more than half a circle, add what I call construction seams. These seams don’t change the design but make the construction easier. Draw dashed lines to indicate these construction seams.
• T-Junctions for Sharp Corners: Whenever you draw a line with corners or sharp points, convert the corner into a T-junction. Extend the seam on one side until it intersects with another seam or the quilt edge. This helps avoid awkward L-shaped seams and simplifies the piecing process.
Finalising Your Design
Continue refining your design until there are no corners left in the seams you have drawn. The goal is to create a pattern that is both visually appealing and practical to sew. With careful planning and attention to detail, you can create a beautiful piecework quilt that showcases your creativity and sewing skills.
By following these steps, you’ll be well on your way to designing a quilt that is both stunning and achievable. Happy quilting!
BONUS: Tools I use for this process
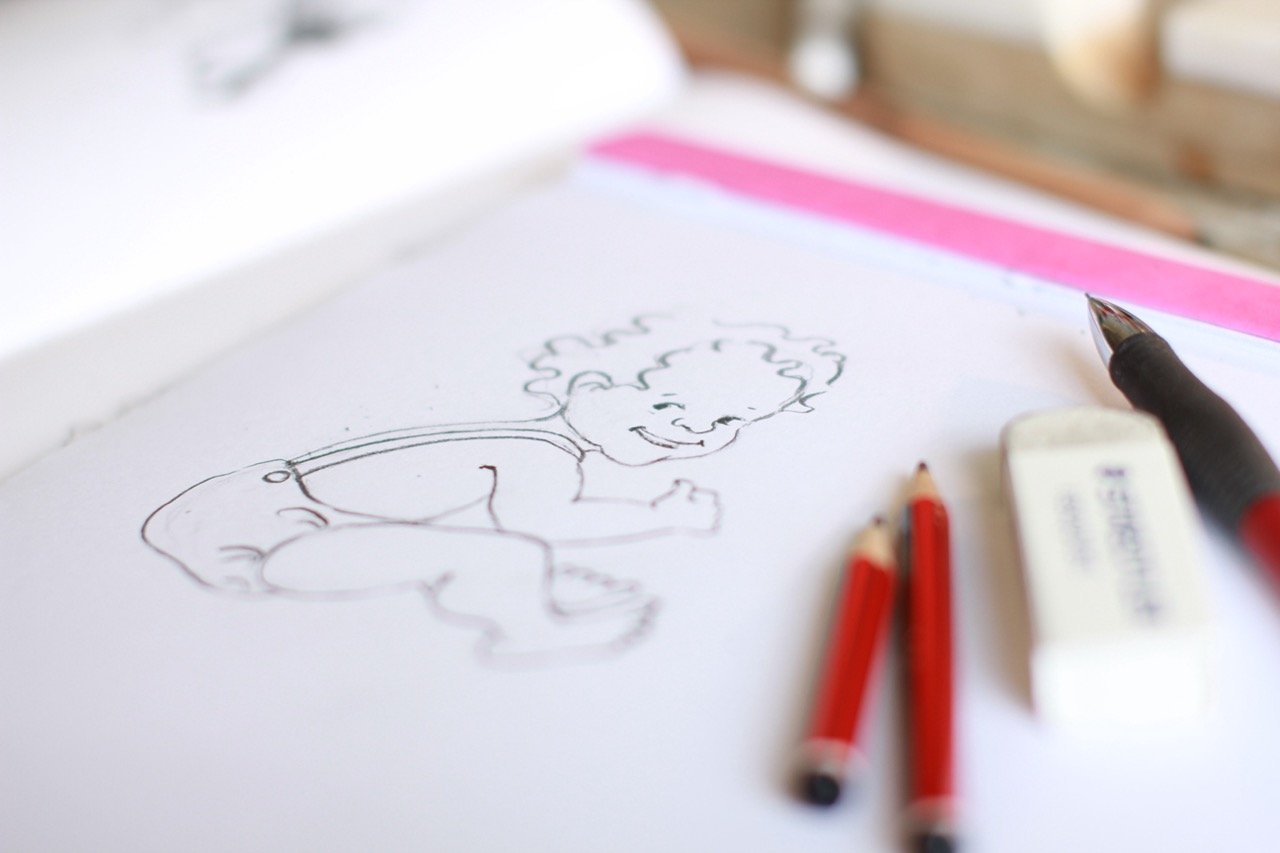
I always start with rough sketches with pencil on paper. When I’m ready to draw up my quilt pattern, I do this on my iPad, in Procreate. I set the size of my drawing to the intended dimensions of my quilt. Once the design is drawn up, I save it as a PDF and print it with Adobe Acrobat, using the ‘tiling’ or ‘poster’ function to print it at the intended size.
