It's All in the Pinning
When I started teaching my quiltmaking process in workshops, I also started realising how many steps I take for granted in this process. That has helped me to think about how to explain every step of the journey.
One such step is the pinning. For some of us, this won’t need an explanation, but some of us fare better with a detailed demonstration, so I’ll give that a go here…
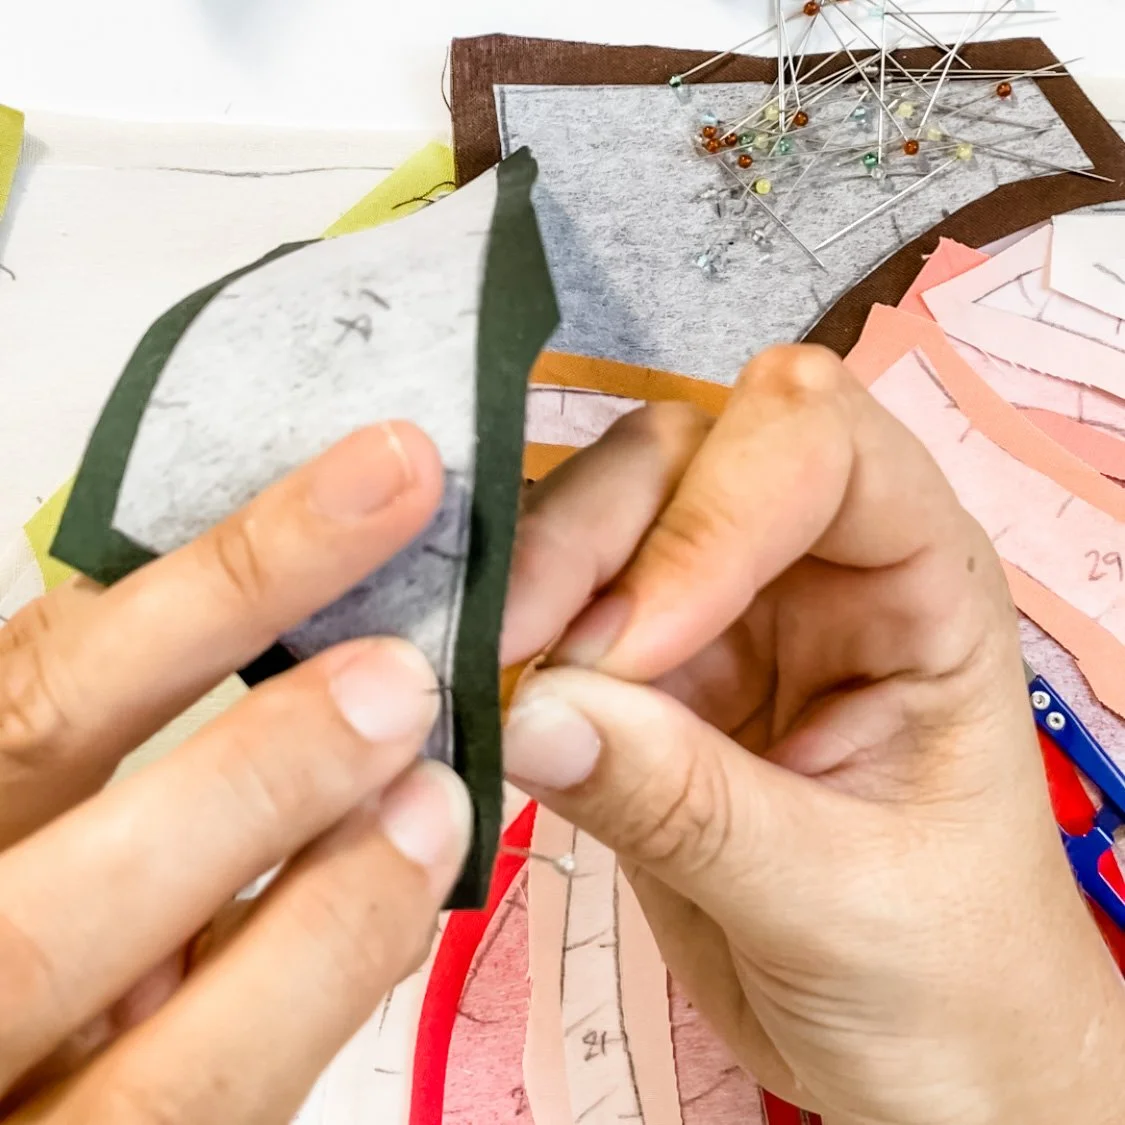
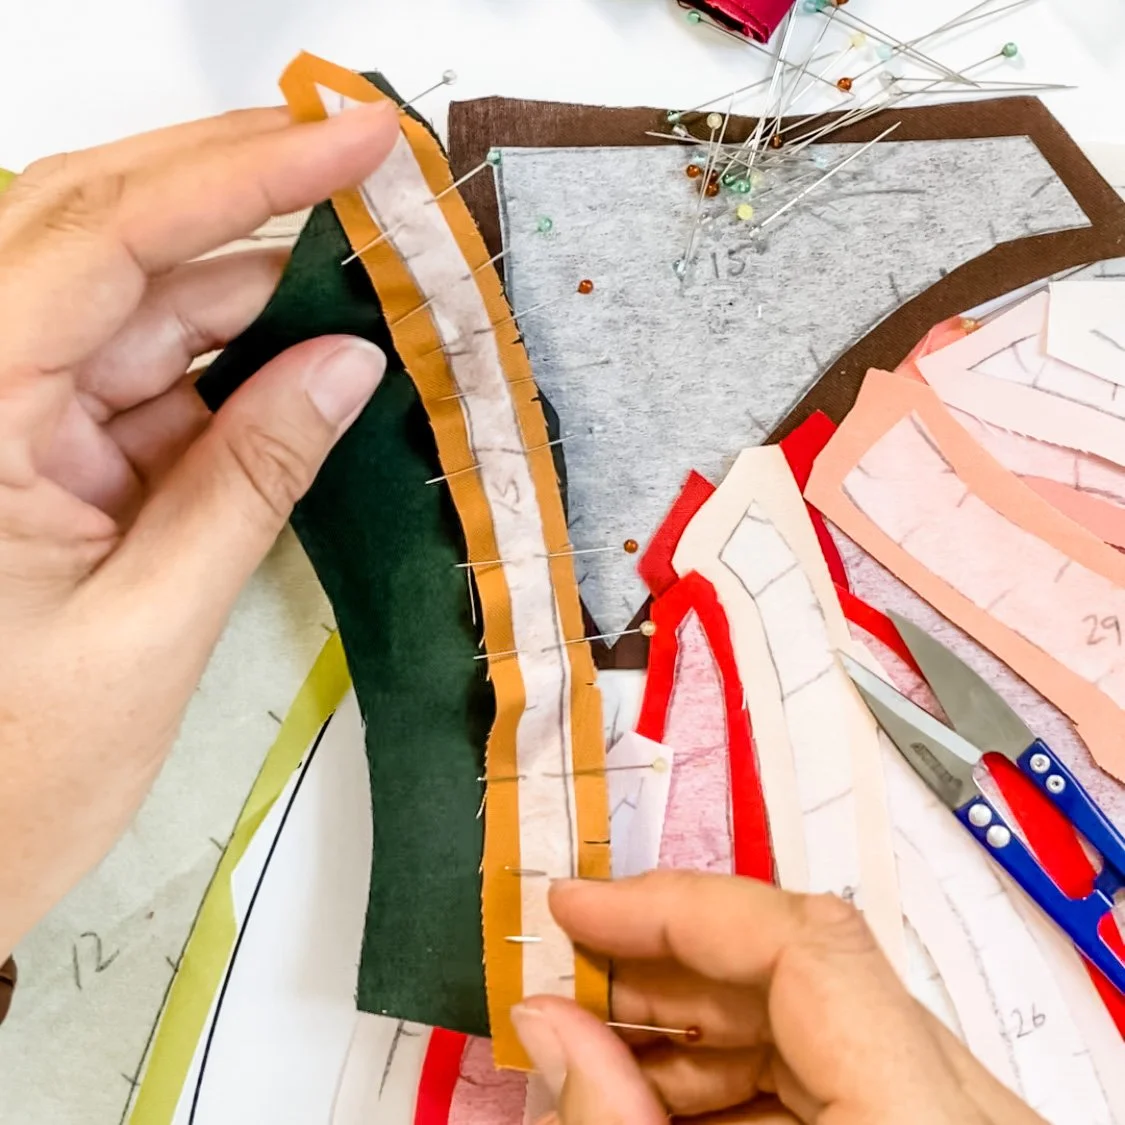
If you’ve taken any of my classes or made up any of my patterns, you’ll know all about these interfacing pattern pieces and their notch markings. To achieve the best end result, our aim is to pin as accurately as possible, referencing the edge of the interfacing and the notch markings.
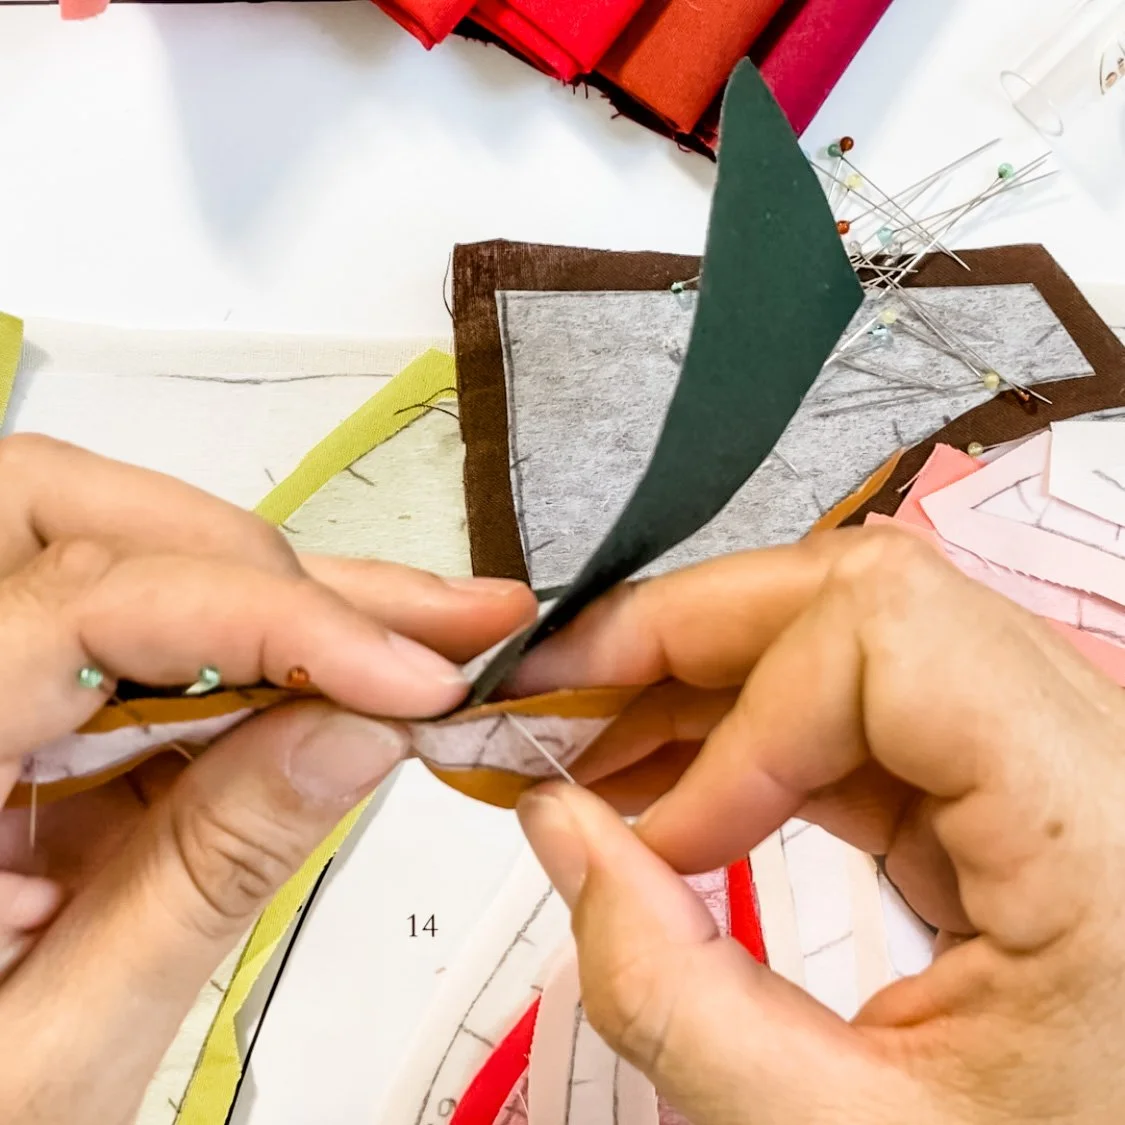
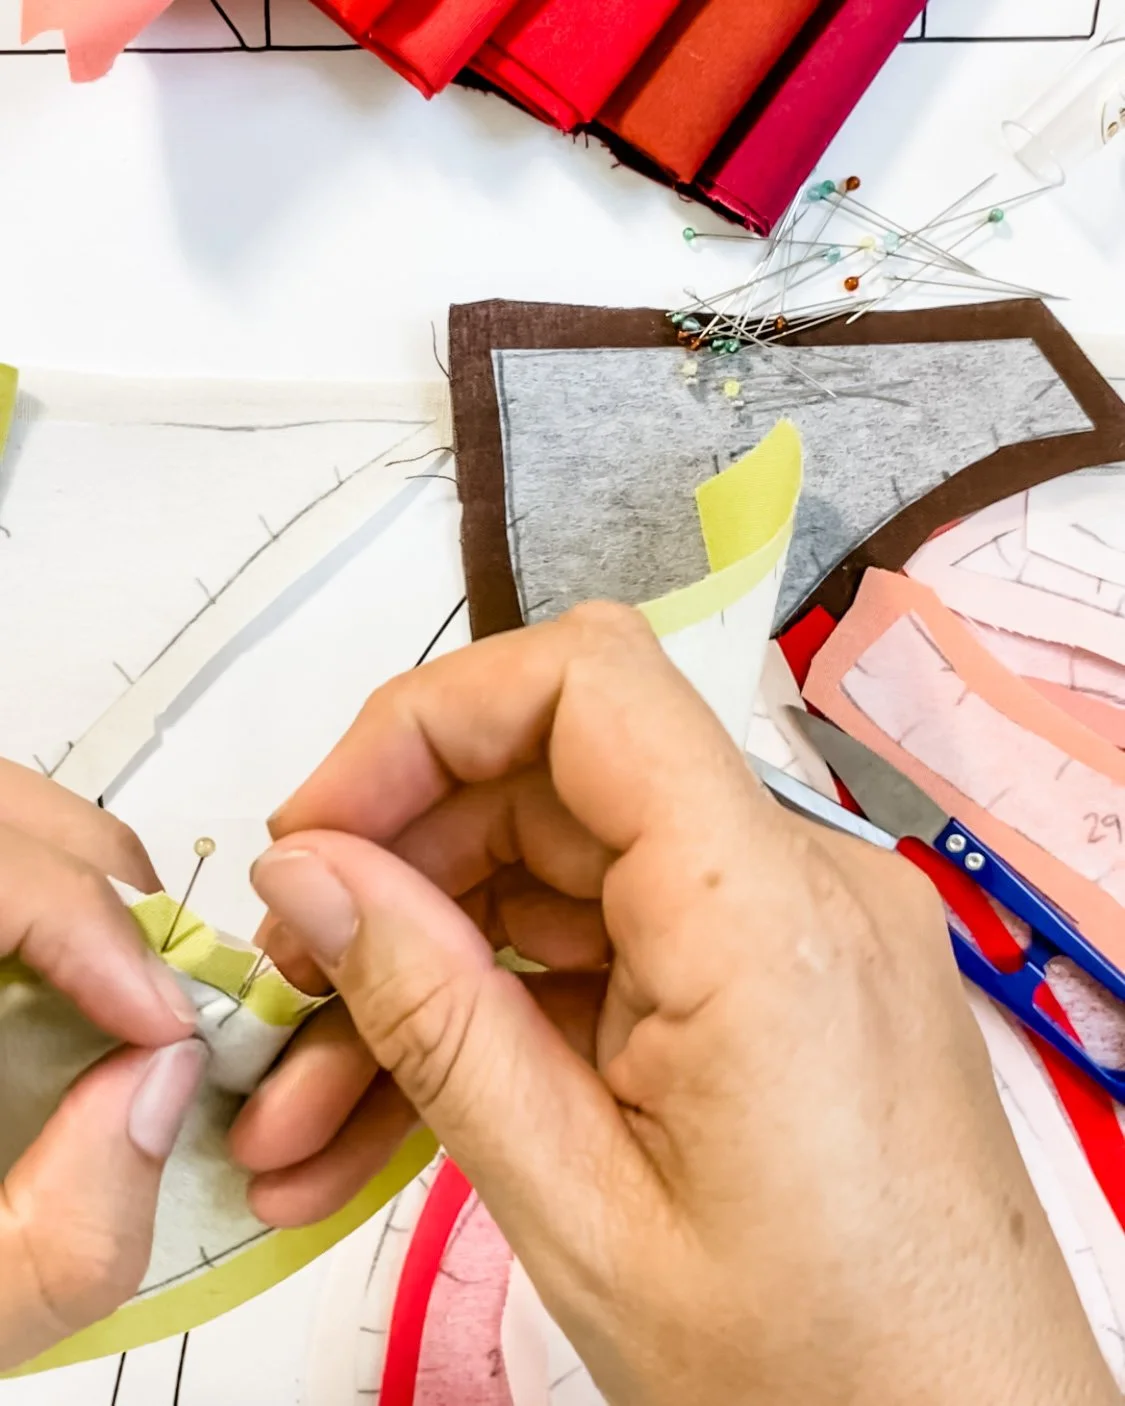
Enter the pin into the top layer of fabric where a notch mark meets the edge of the interfacing.
Push the pin through the bottom layer of fabric at the corresponding notch mark/edge of interfacing.
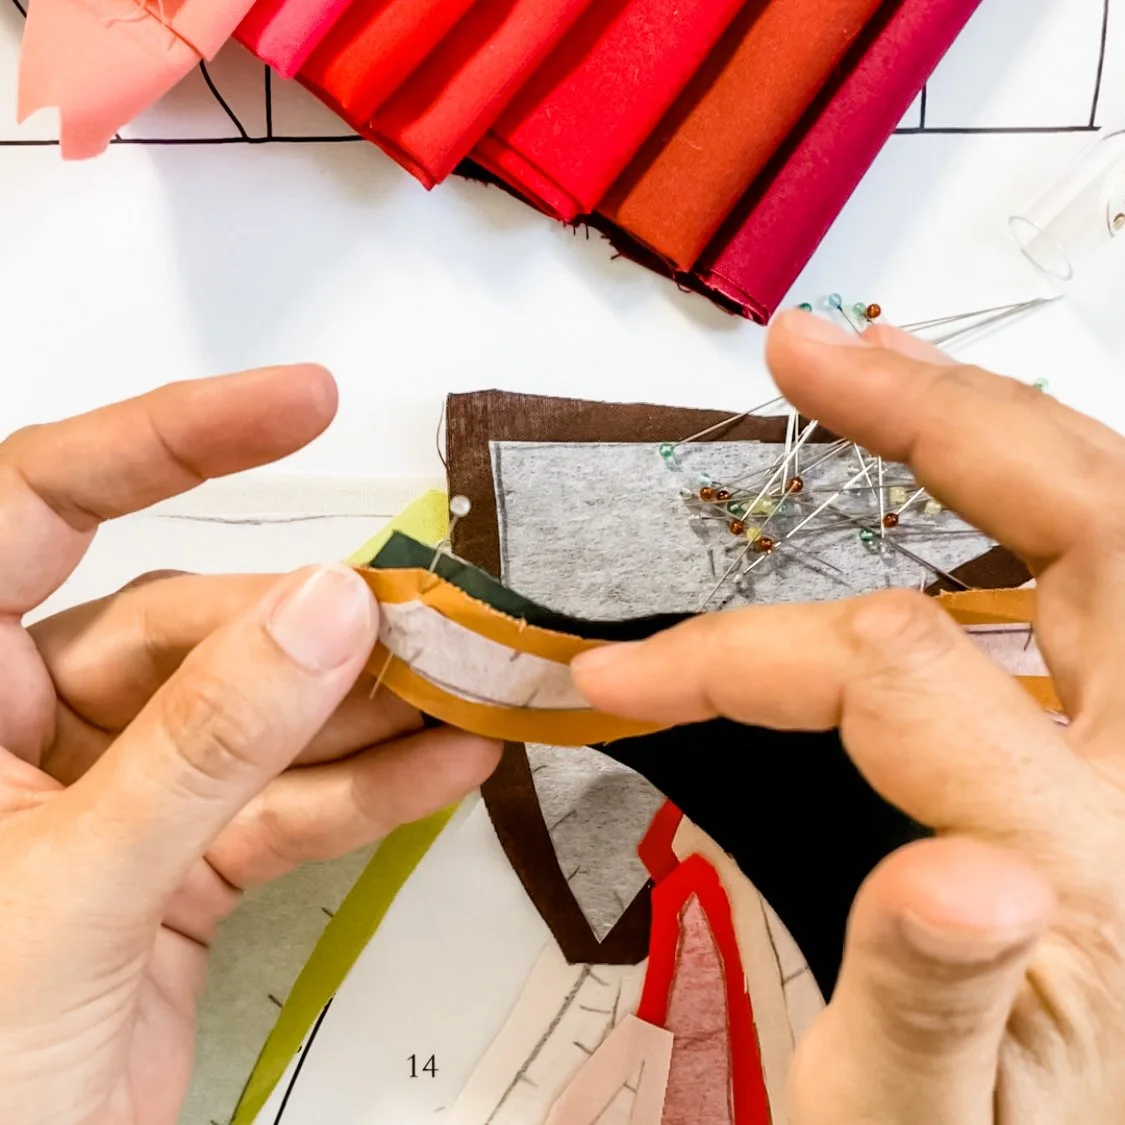
3. Make sure the two pieces of fabric are aligned in the same direction at the place where you are pinning - but don’t worry about lining up the edges of the fabric.
4. Bring the pin back up through the top layer, trying not to let the bottom layer slip sideways as you do so (finer pins work better for this)
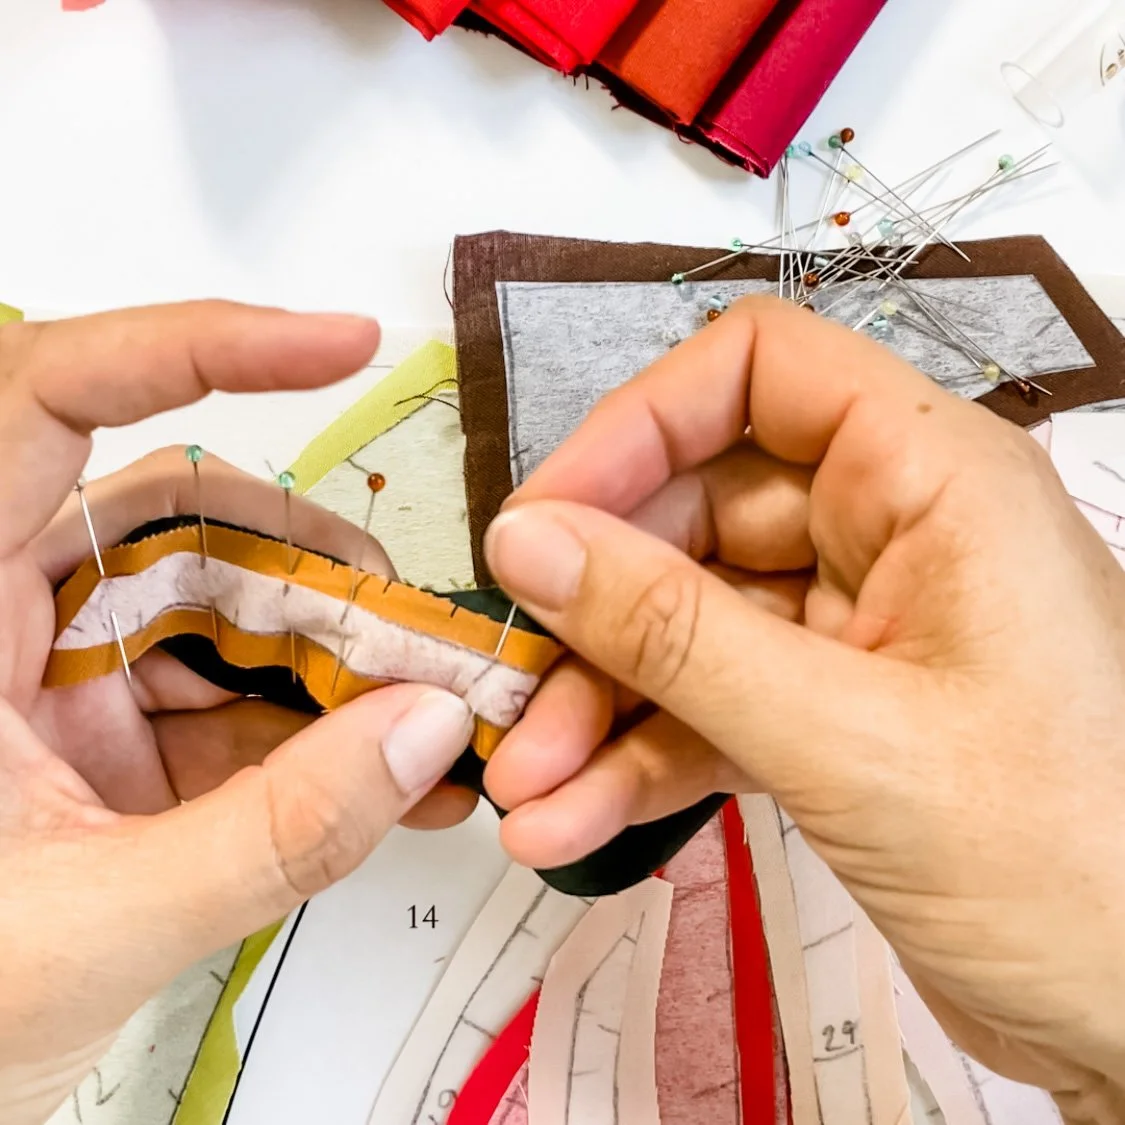
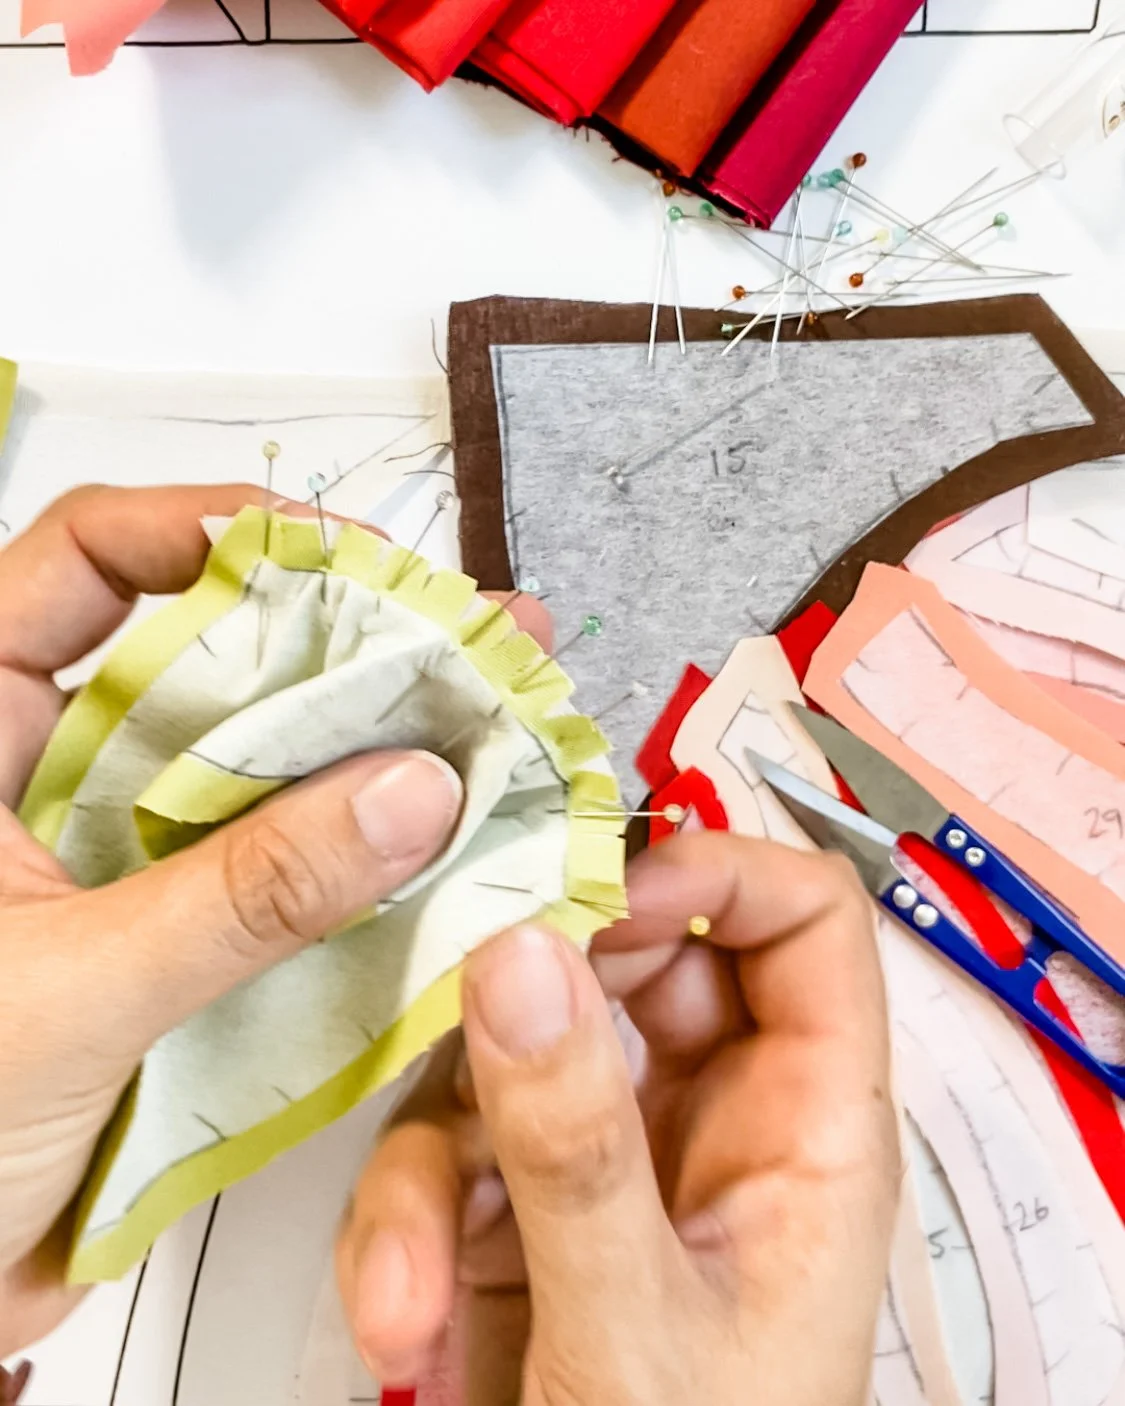
5. Place a pin at every notch mark, adding extras in between if necessary.
6. Pinning well and carefully will give you the best results, and will make accurate stitching a breeze!
What About Curved Seams?
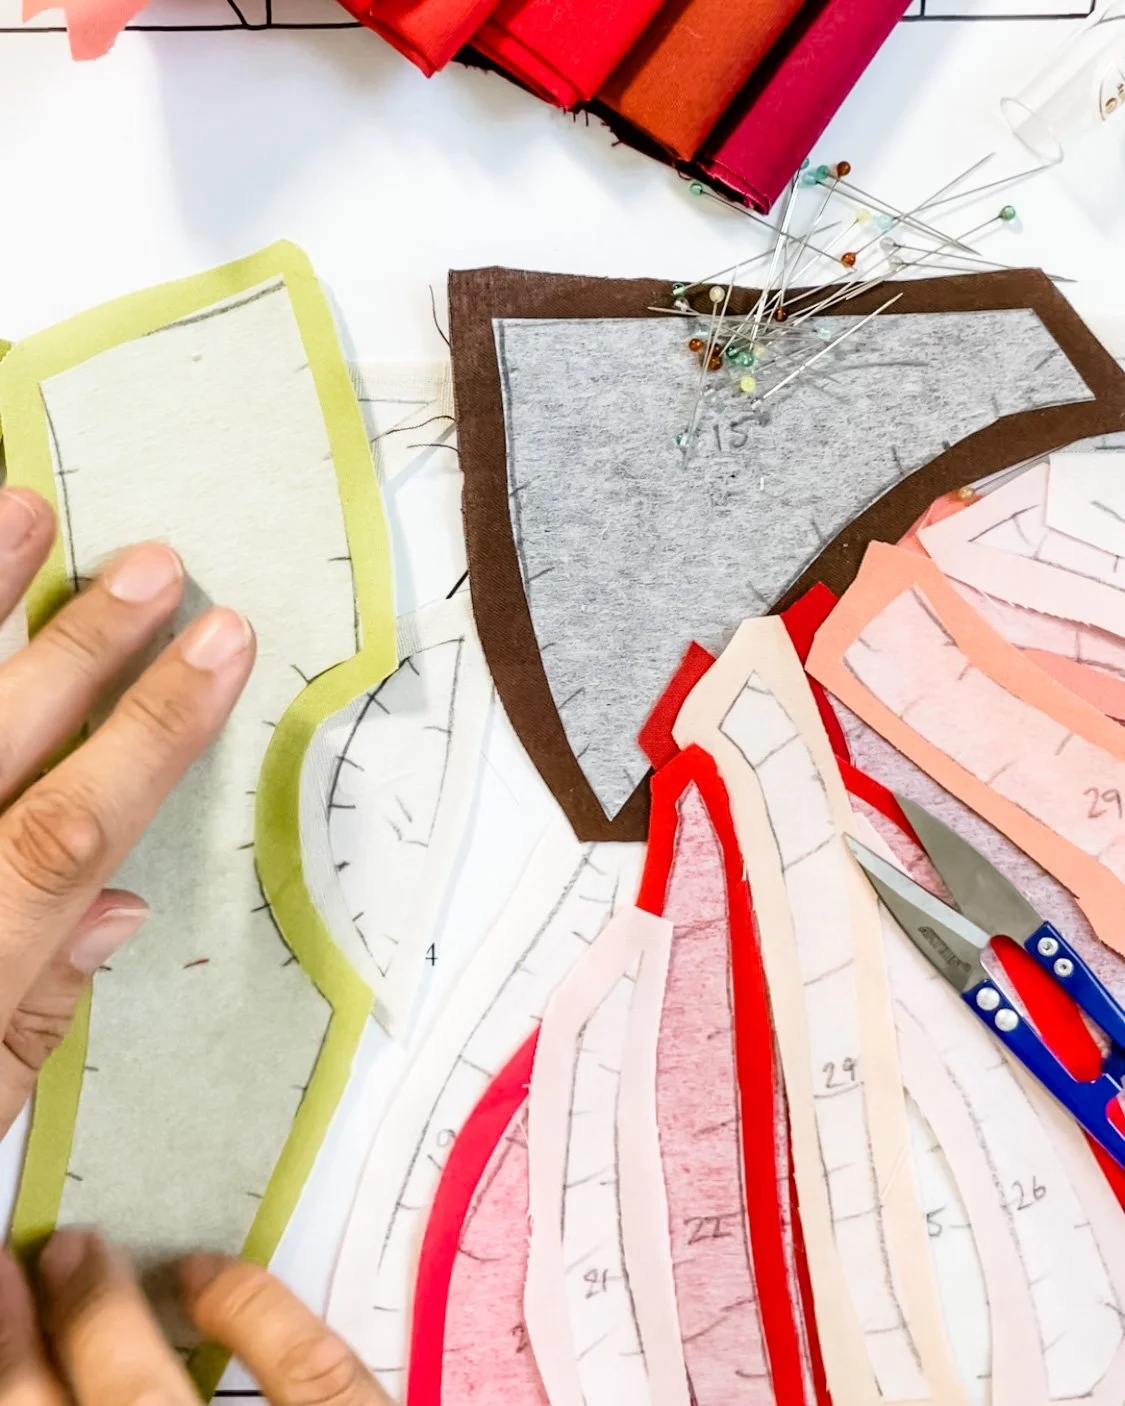
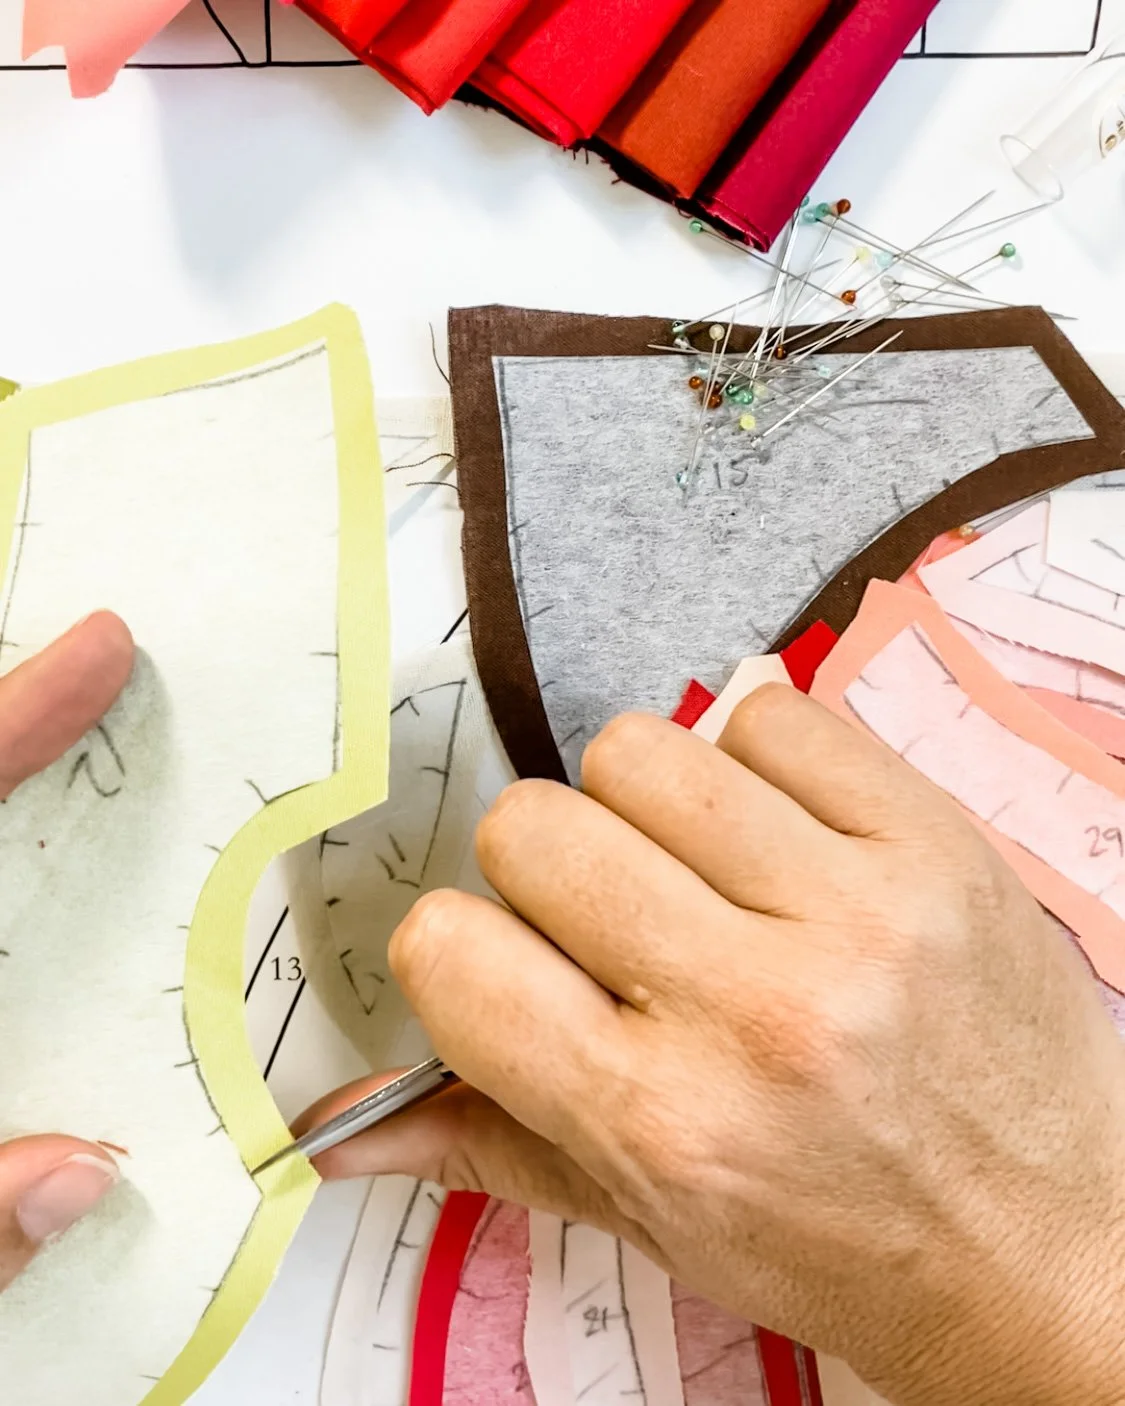
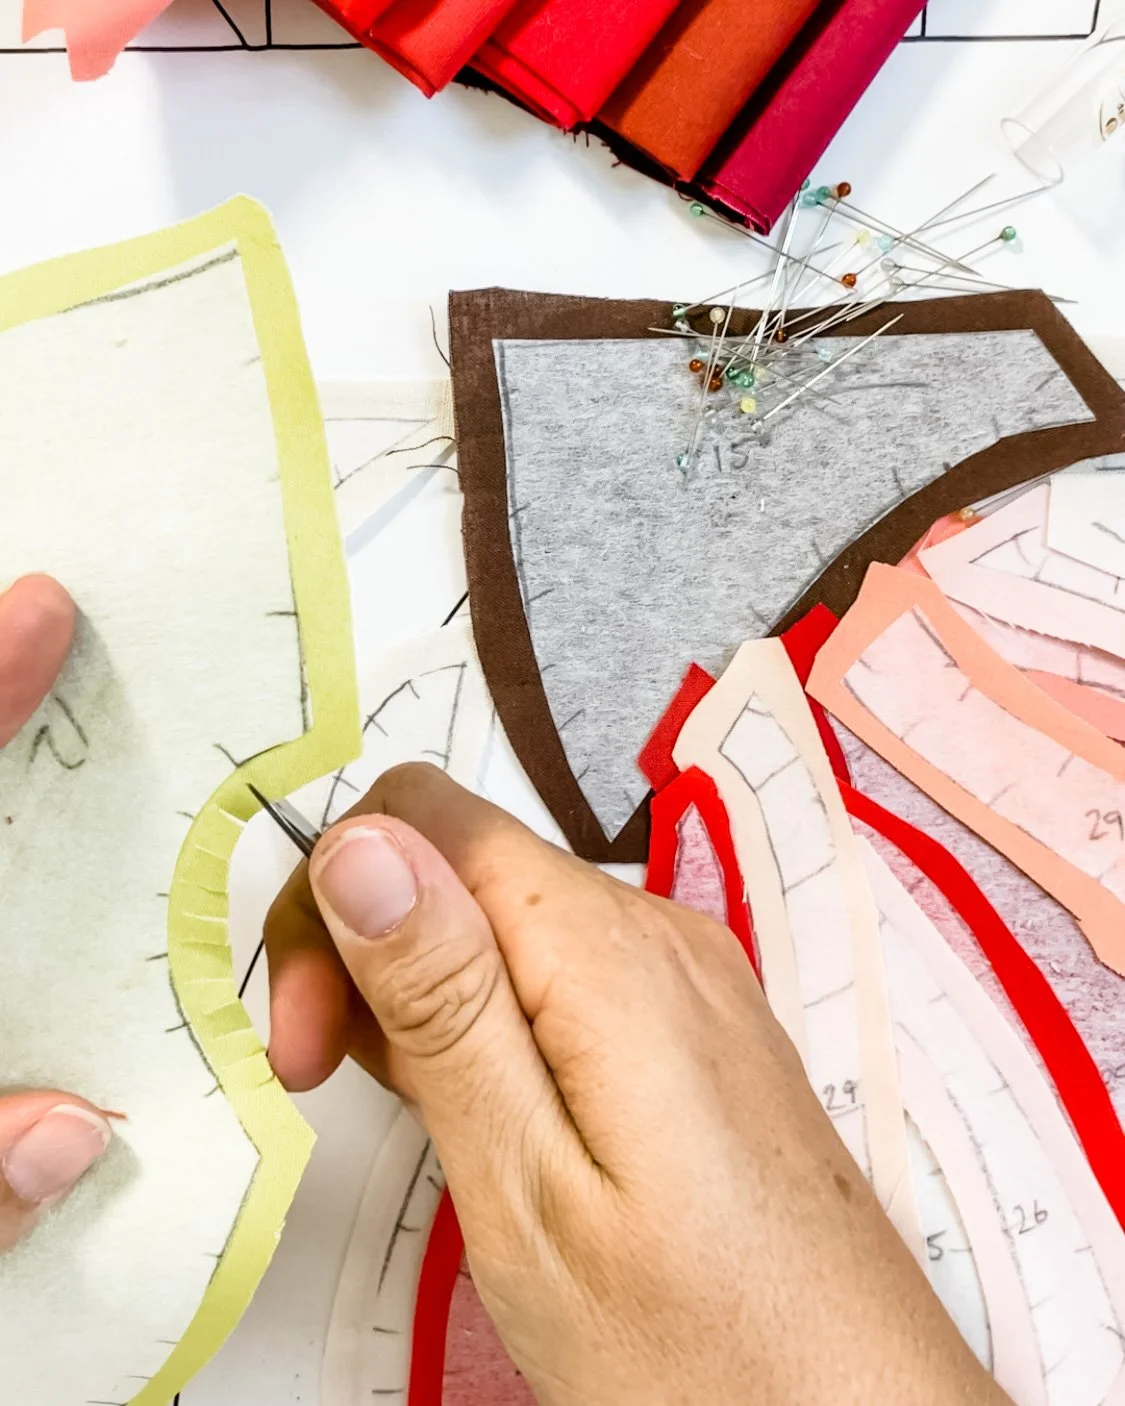
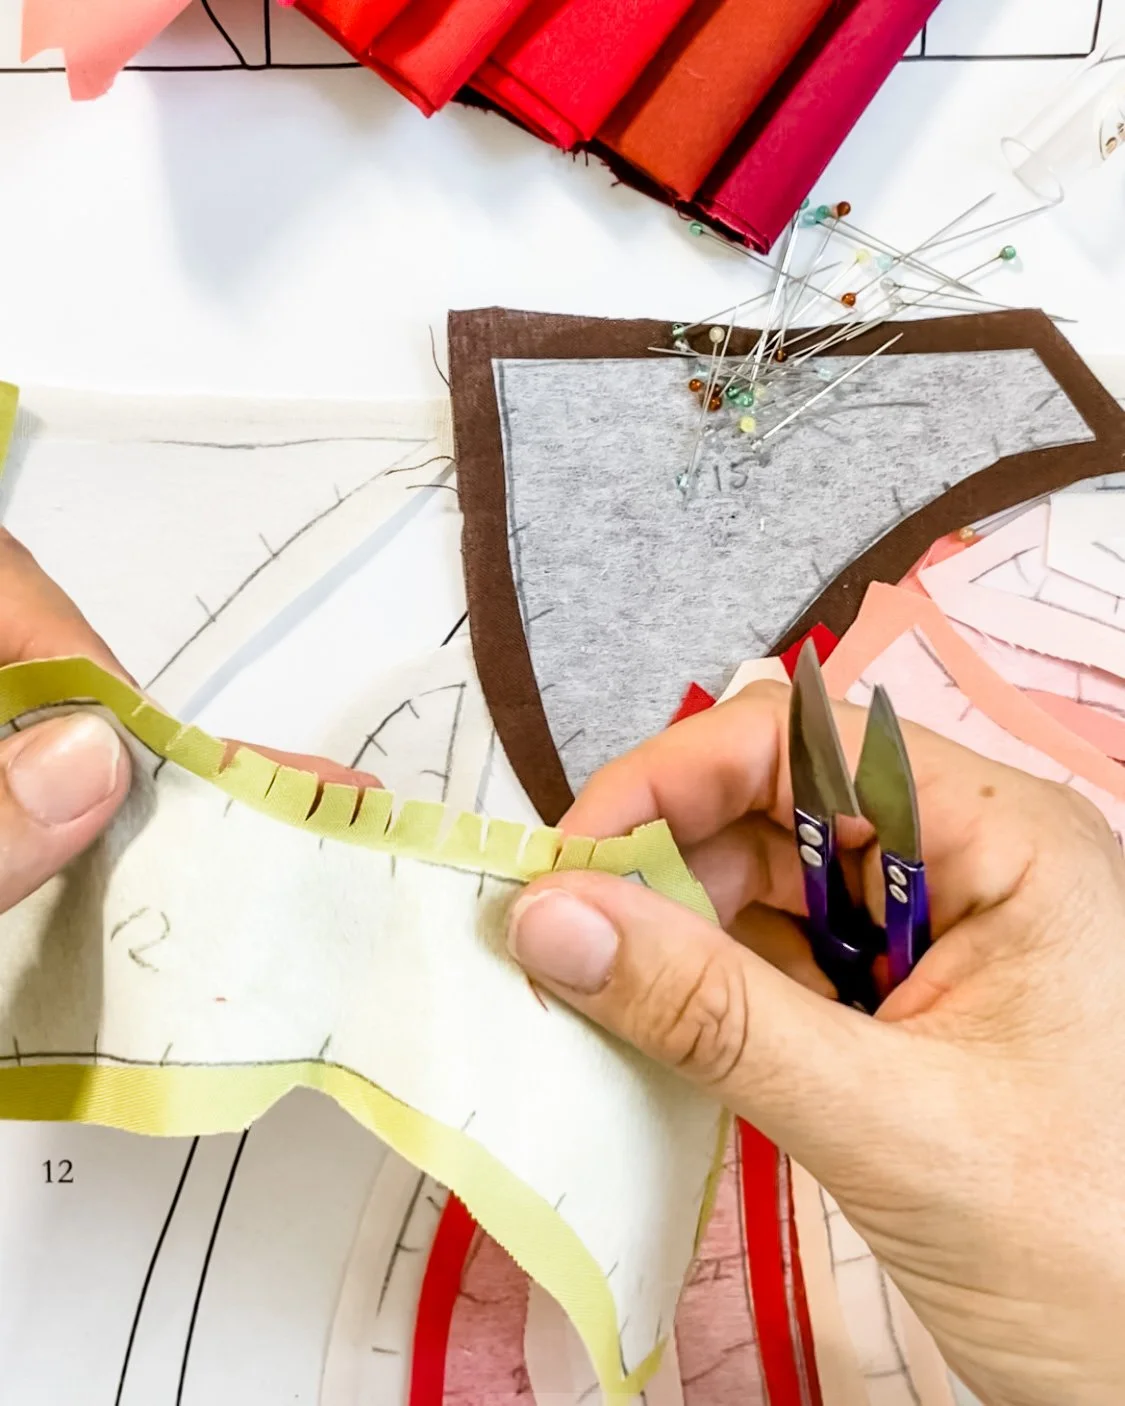
When you are pinning curved seams, there is an extra step to consider: clipping the seam allowance!
I always clip only the concave piece of fabric (that is, the fabric that goes in ‘like a cave’).
Clip the fabric perpendicular to the edge of the interfacing, stopping just short of the interfacing. Clip at regular intervals, closer together for tighter curves.
2. Pin as described above.
3. I always sew with the concave piece of fabric (the one that I clipped) on the top where possible, so that I can avoid accidentally stitching tucks into the seam.
I hope this helps! Happy pinning and stitching!
